

Crochet Star Free Pattern
Learn how to crochet a cute stuffed star with this free crochet star pattern. This small crochet star can be used as a Christmas tree ornament, holiday decoration, keychain, garland piece, baby mobile element, or a sweet handmade gift topper.
Before we begin, thank you for visiting GorbunovaDolls – a place for detailed amigurumi patterns, crochet dolls, and cute handmade projects created with care.

Pin this crochet star pattern to your crochet board so you can easily find it when you’re ready to make a handmade star ornament.
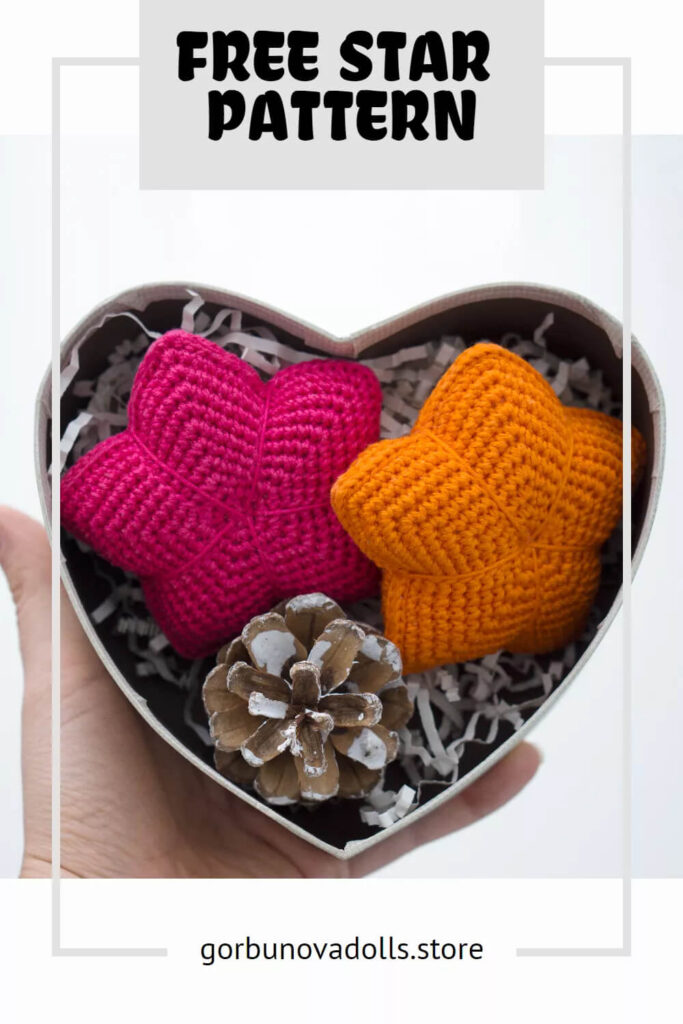
This free crochet star pattern includes step-by-step written instructions and process photos for making two star pieces, joining them together with slip stitch seaming, lightly stuffing the shape, and adding the final yarn shaping.
You can make this star in classic Christmas colors, soft pastels, bright nursery shades, or any yarn color that matches your project. The finished size will depend on your yarn, hook size, and tension.
Table of Contents
Hide ContentsShow Contents
Pattern Details
- Skill Level: Easy
- Finished Size: Approximately 3.93 in / 10 cm when made with sport weight yarn and a 3 mm crochet hook
- Crochet Terms: US terms
- Construction: Two flat crochet star pieces are made separately, then joined together with slip stitch seaming, lightly stuffed, and shaped into five sections with yarn
- Best For: Christmas ornaments, garlands, keychains, baby mobiles, gift toppers, holiday decor, and small handmade decorations
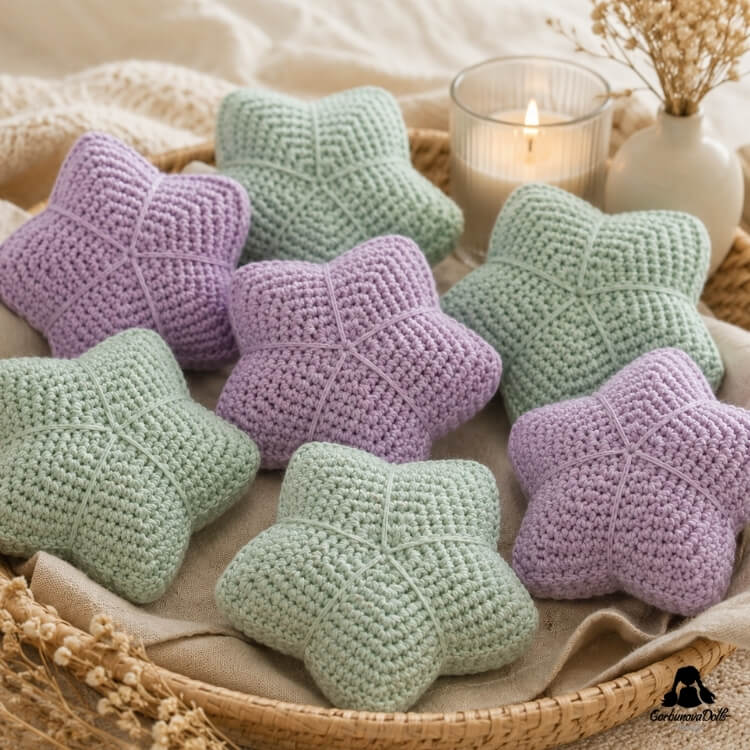
Materials You’ll Need
This section may contain affiliate links, including Amazon affiliate links. If you purchase through these links, I may earn a small commission at no extra cost to you. Thank you for supporting my free patterns.
You can use the yarn and hook size of your choice for this crochet star pattern. Be sure to match your hook size to your chosen yarn so the stitches look neat and the stuffing does not show through.
The sample shown was made with Schachenmayr Catania, a sport weight cotton yarn, and a 3 mm crochet hook.
If you want to use a different yarn, choose a yarn that gives you a neat fabric and enough structure for the star shape. The Yarn Substitution Tool is a helpful resource for finding yarns with a similar weight, fiber content, and texture.
You will need:
- Yarn of your choice
- Crochet hook suitable for your yarn; I used a 3 mm hook for the sample
- Poly-Fil fiberfill stuffing
- Scissors
- Large-eye tapestry needle
- Stitch marker or a piece of contrasting yarn
Gauge and Size Notes
Gauge is not critical for this crochet star pattern. The most important thing is to keep your stitches even and tight enough so the stuffing stays inside.
Made with sport weight yarn and a 3 mm crochet hook, the finished star measures approximately 3.93 in / 10 cm. If you use thicker yarn, your star will be larger. If you use thinner yarn, your star will be smaller.
Crochet Abbreviations Used in This Pattern
This pattern is written in standard US crochet terms. You can also check my Crochet Abbreviations guide if you need help with any of the stitches.
| Abbreviation | Meaning |
|---|---|
| ch | chain |
| sc | single crochet |
| sl st | slip stitch |
| st/sts | stitch/stitches |
| […] x | repeat the instructions in brackets x times |
| (…) | total number of stitches in the round |
Pattern Notes
- The star is made from two separate crochet pieces.
- Work in rounds and use a stitch marker to mark the first stitch of each round.
- Every new round starts at the stitch marker.
- The first star piece is finished with an invisible needle join.
- The second star piece is not fastened off before joining.
- The two pieces are joined with slip stitch seaming.
- Add stuffing before closing the seam completely.
- The final shaping is made by wrapping yarn around the star to divide it into five sections.
You may also like these free Christmas crochet patterns:
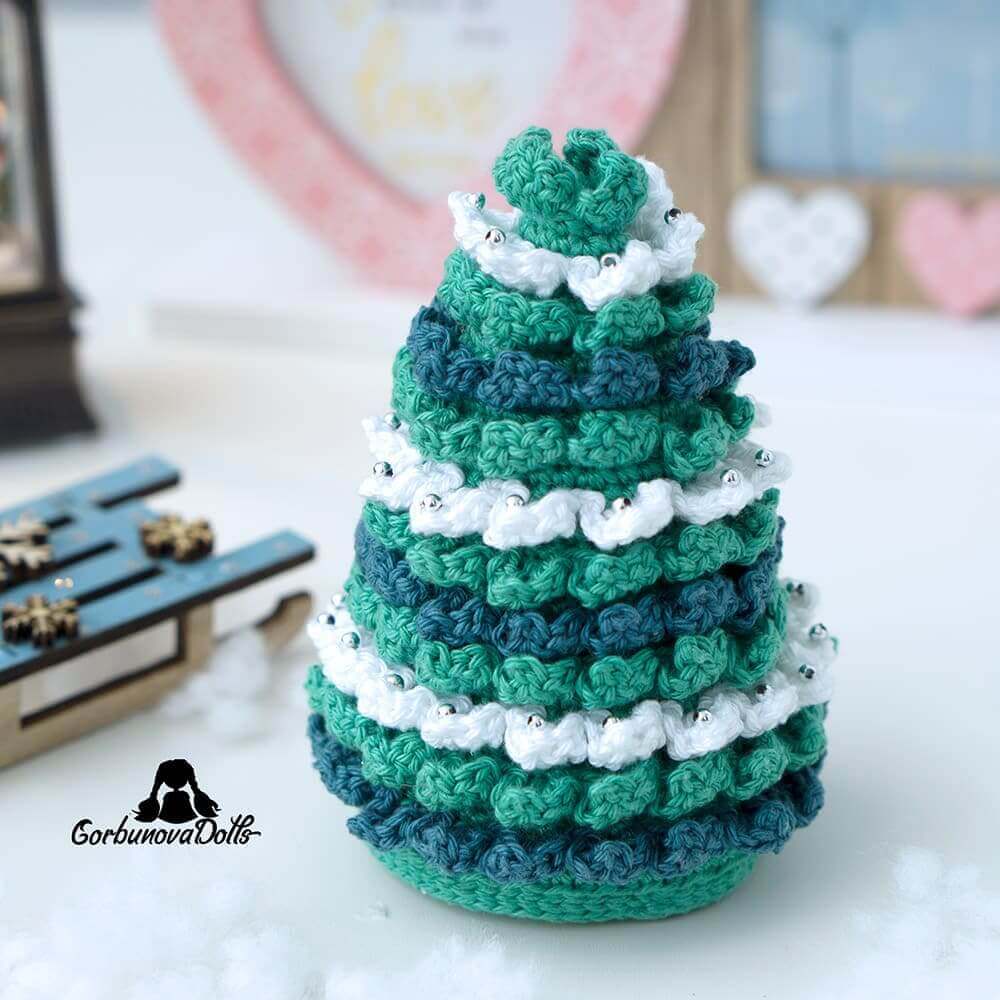
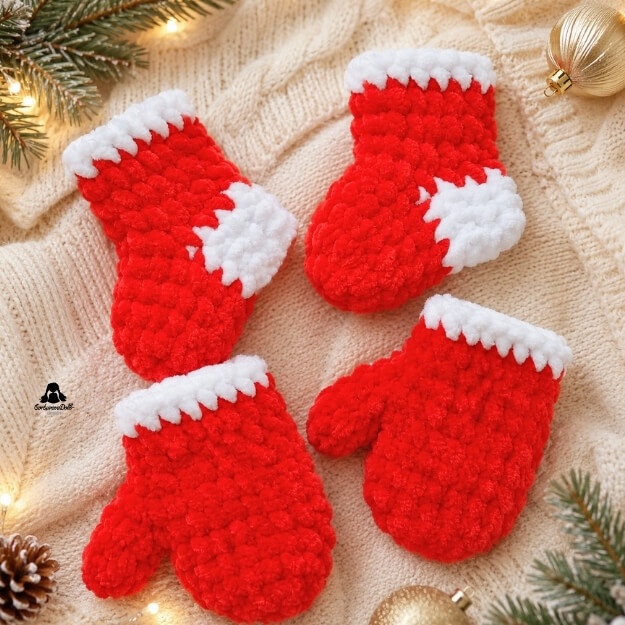
Love detailed amigurumi patterns?
If you enjoy cute crochet projects like this one, you may also love my premium amigurumi doll patterns. Each PDF pattern is carefully designed with clear step-by-step instructions, helpful photos, and a polished finished result in mind.





Pattern Instructions
First Star Piece
Make a magic ring. Work in rounds and place a stitch marker in the first stitch of each round.
Round 1: 5 sc into magic ring (5)
Round 2: [2 sc in one st] x 5 (10)
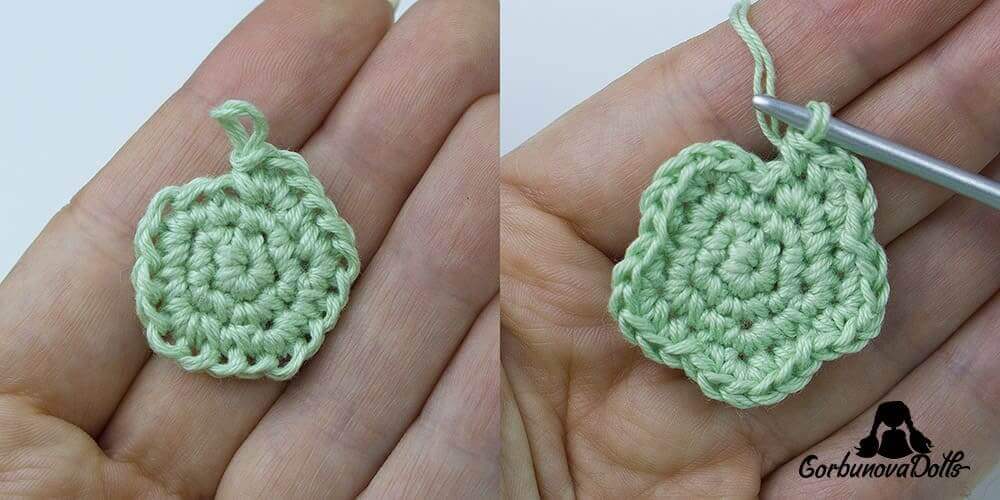
Round 3: [sc, 3 sc in one st] x 5 (20, Photo 1)
Round 4: [sl st, sc, 3 sc in one st, sc] x 5 (30, Photo 2)
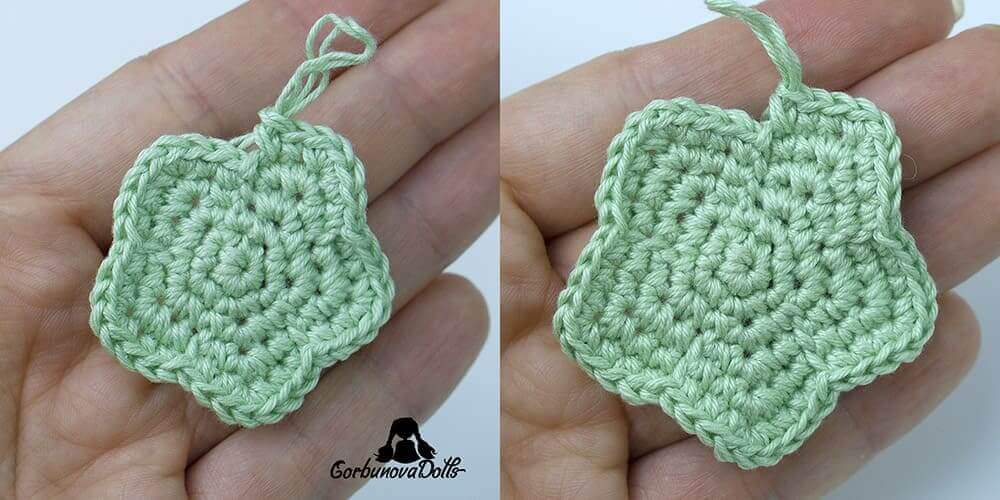
Round 5: [sl st, 2 sc, 3 sc in one st, 2 sc] x 5 (40, Photo 3)
Round 6: [sl st, 3 sc, 3 sc in one st, 3 sc] x 5 (50, Photo 4)
Round 7: [sl st, 4 sc, 3 sc in one st, 4 sc] x 5 (60)
Round 8: [sl st, 5 sc, 3 sc in one st, 5 sc] x 5 (70)
Round 9: [sl st, 6 sc, 3 sc in one st, 6 sc] x 5 (80)
Round 10: [sl st, 7 sc, 3 sc in one st, 7 sc] x 5 (90)
Round 11: [sl st, 8 sc, 3 sc in one st, 8 sc] x 5 (100, Photo 5)
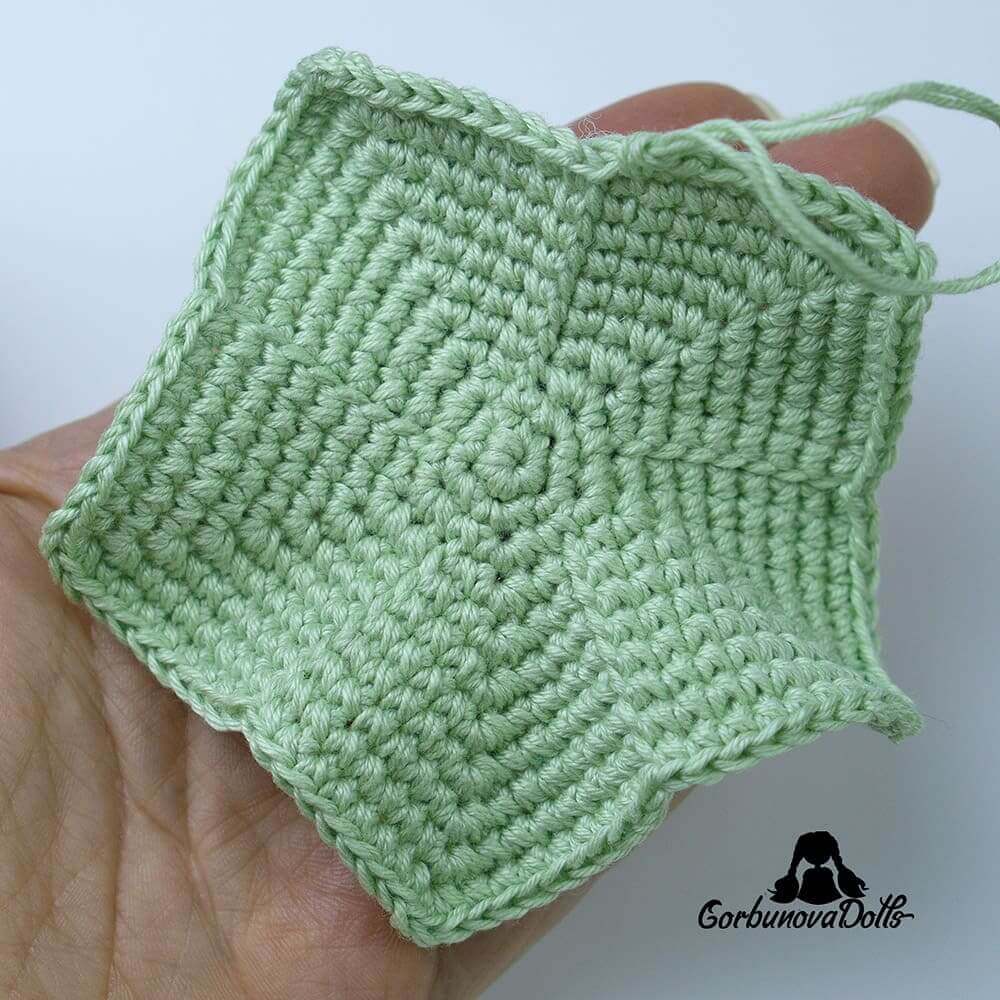
Remove the stitch marker. Cut the yarn, leaving a 5 in / 15 cm tail.
Invisible Needle Join
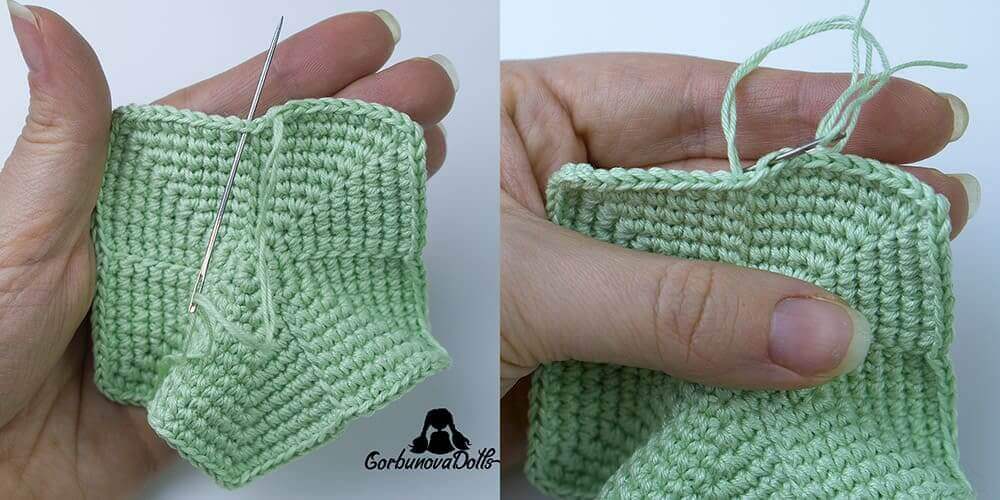
Finish the round with an invisible needle join. Pull the yarn end through the last stitch and thread it onto a needle. Skip one stitch and insert the needle under both loops of the next stitch, as shown in Photo 6.
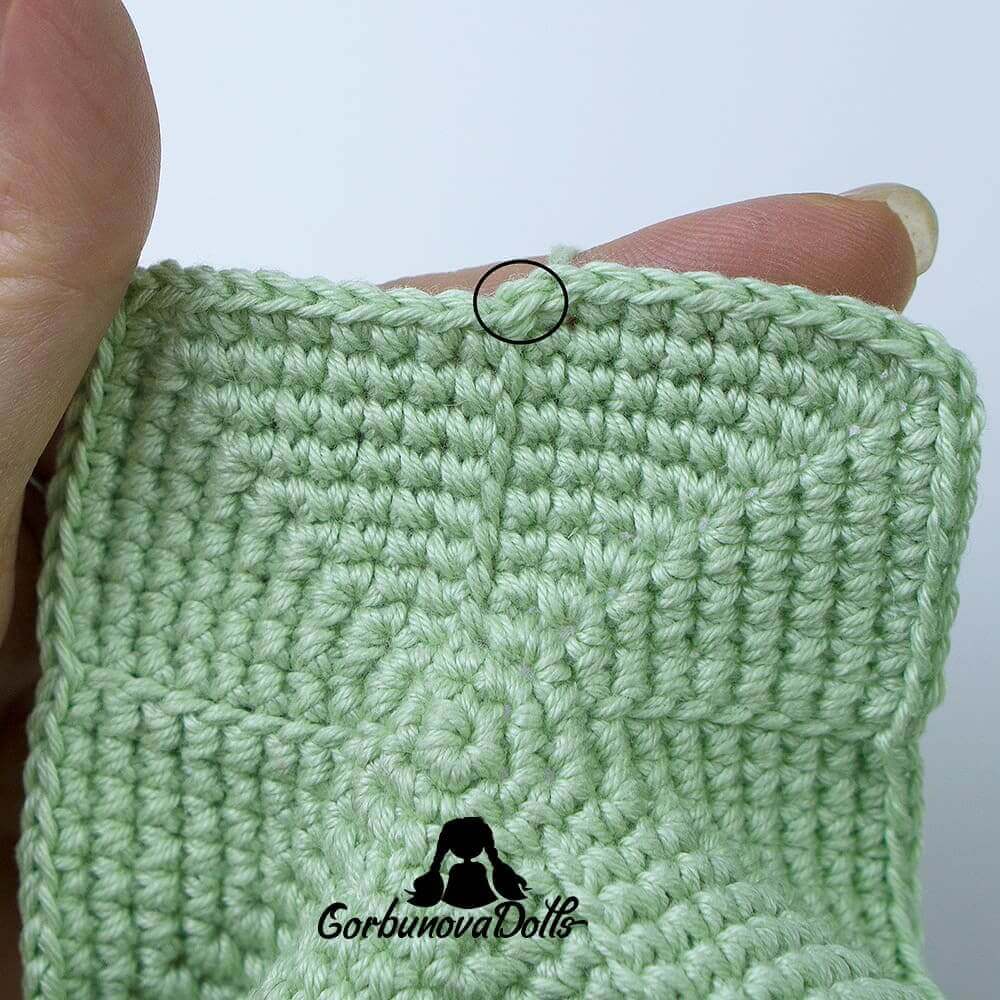
Then insert the needle back into the back loop only of the same stitch where the yarn end came from, as shown in Photo 7. Tighten the yarn just enough so the join looks like a regular stitch (Photo 8). Weave in the end.
Second Star Piece
Crochet the second star piece in the same way, but do not cut the yarn after Round 11. You will use this working yarn to join the two pieces together.
Joining the Star Pieces
Hold the two star pieces together with the wrong sides facing each other. Carefully align the stitches so the matching points and valleys of both star pieces line up evenly before you start joining.
Start joining the pieces with slip stitch seaming. Insert your hook from front to back through the next stitch on the piece closest to you. Continue inserting the hook through the matching stitch on the second piece, as shown in Photo 9.
Yarn over and pull the yarn through both star pieces, as shown in Photo 10 and through the loop on your hook in one motion.
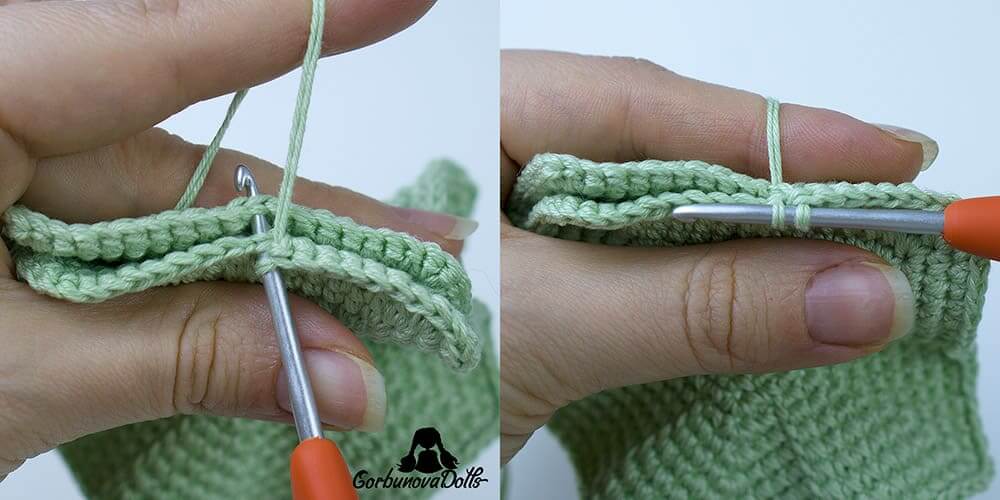
This creates your first slip stitch seam, as shown in Photo 11. Continue joining the two pieces with slip stitches around the edge of the star.
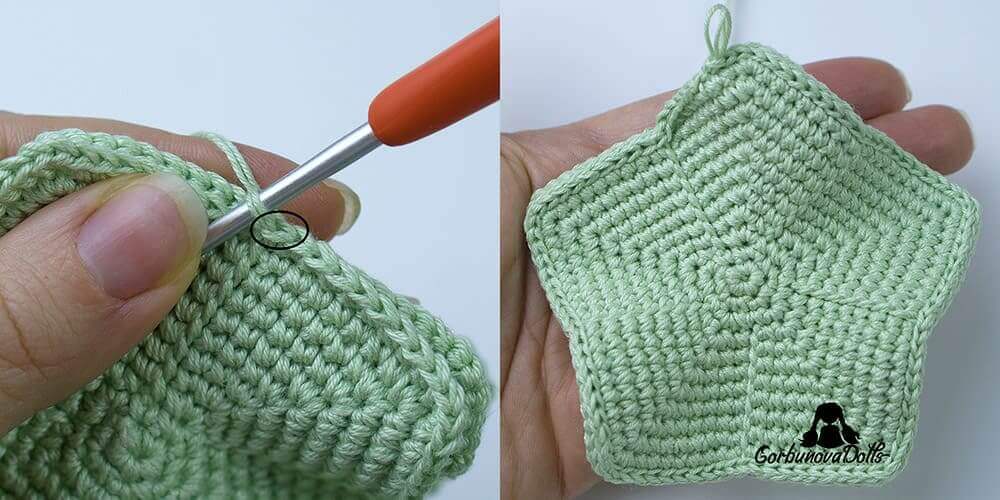
Before closing the seam completely, add a small amount of stuffing. Do not overstuff the star; it should stay soft but still keep its shape. Finish closing the seam. Fasten off and weave in the yarn end.

Star Shaping
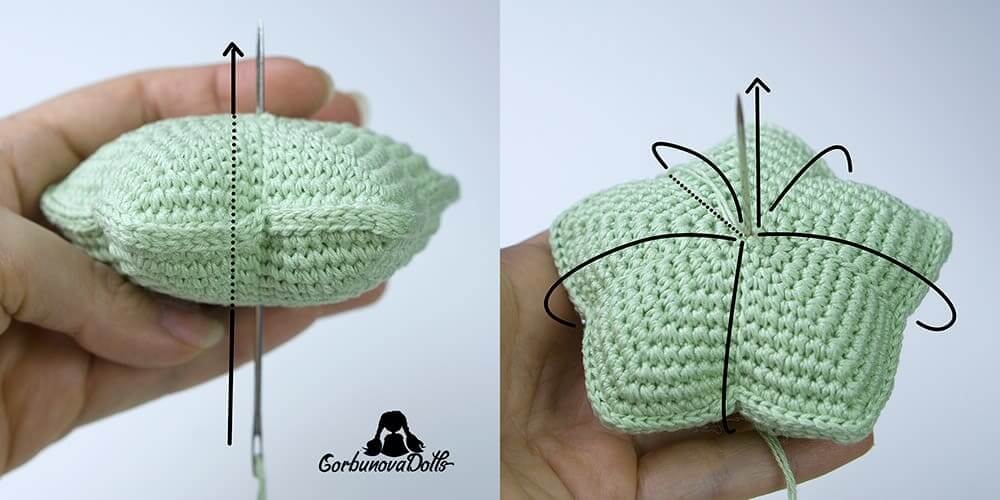
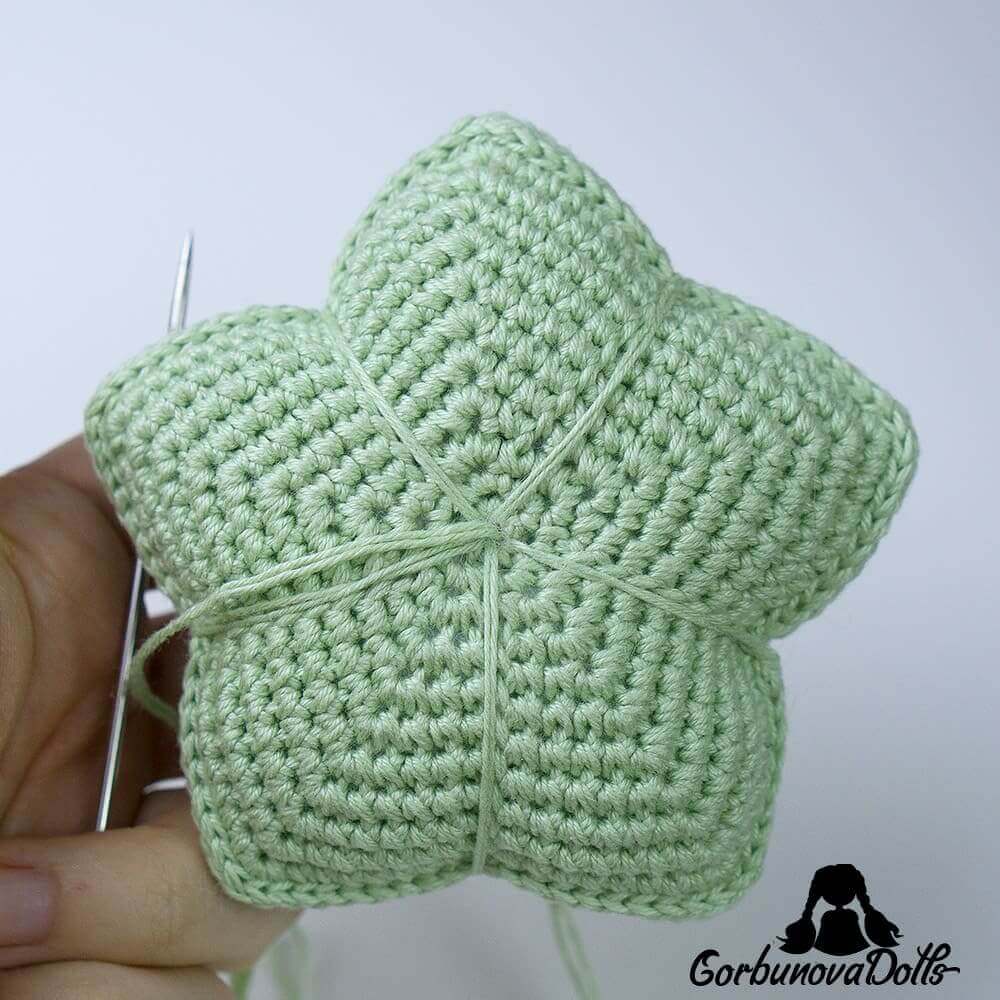
Using the same yarn or a matching strand of yarn, wrap the yarn over and around the star, bringing it back to the starting point. This divides the star into 5 equal sections.
Pull the yarn firmly enough to shape the star, but not so tightly that the stitches distort too much. Knot securely at the center and hide the yarn end.
Your Crochet Star Is Finished!
Congratulations – your crochet star is ready! You can use it as a Christmas ornament, garland piece, keychain, gift topper, nursery decoration, or a small handmade accent for many different projects.

I hope you enjoyed this free crochet star pattern. If you make your own star, I’d love to see it! Tag me on Instagram @gorbunova.dolls or share your photo in my Facebook group, Ami & Hook Society.
Want to crochet something more detailed?
Explore my premium amigurumi doll patterns – beautifully structured PDF patterns with clear instructions, helpful step-by-step photos, and charming finished dolls you’ll be proud to make.
Pattern Credit & Permissions
This crochet star pattern is designed by GorbunovaDolls. Please do not copy, repost, translate, redistribute, or sell this pattern or any part of it as your own. You may link to this page if you want to share the pattern with others.
You may sell finished items made from this pattern in small quantities, provided that you credit GorbunovaDolls as the pattern designer.

LOVE YOUR PATTERNS!
Thank you! ❤️