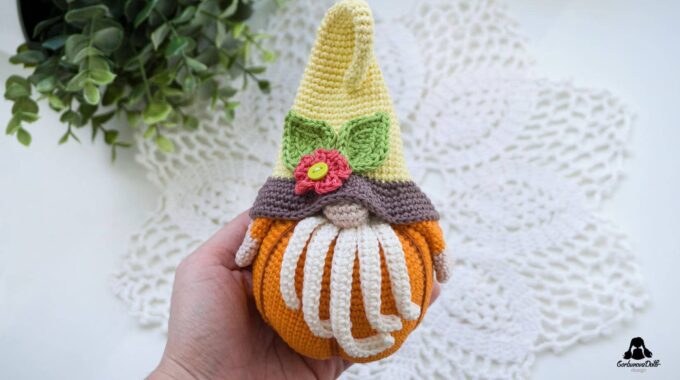
Halloween Gnome Crochet Pattern Free
For those seeking whimsical Halloween décor ideas, look no further than this charming Halloween Gnome Crochet Pattern! Perfect for adding a spooky touch to your home, you can display these delightful gnomes on bookshelves, window sills, or any spot that needs a festive Halloween touch.
Let these quirky characters bring a touch of Halloween magic to your space, whether you’re hosting a haunted gathering or simply getting into the spirit of the season.
You can use different types of yarn, but I recommend a DK or Sport weight. Make sure to use a crochet hook that’s one or two sizes smaller; it makes the fabric a little tighter so it will hold the stuffing without showing holes.
This post may contain affiliate or referral links. As an Amazon Associate, I may earn a commission from qualifying purchases.
Please kindly Pin my image before we start as it really helps. Thank you in advance!

Materials
- Yarn in orange, brown, green, yellow, white and red;
- Size 2.5 mm crochet hook. This is my absolute favorite crochet hook I recommend to everyone;
- Poly-Fil Fiberfill stuffing;
- Needle (for sewing), tapestry needle, stitch marker, pins and scissors;
- Optional: small button for decoration;
- Optional: brown eye shadow.
What did I use?
Schachenmayr Catania, sport weight yarn, 100% Cotton, 1.76 ounces = 137 yards/50 grams = 125 meters.
Colors: 00281 (orange for body), 00403 (light yellow for hat), 00130 (white for beard), 00263 (skin for arms and nose), 00161 (brown for hat), 00252 (red for flower), 00205 (green for leaves)

Abbreviations
Here are the crochet abbreviations used in this Halloween Gnome Crochet Pattern. Note that instructions are written in US terms. The resource you may find helpful in following this pattern: Crochet Abbreviations.
| Abbreviation | Meaning |
|---|---|
| CH | chain |
| St | stitch |
| SL ST | slip stitch |
| SC | single crochet (i.e. 3 SC means to crochet SC in next 3 sts) |
| HDc | half double crochet |
| DC | double crochet |
| INC | increase (2 SC in one st) |
| InvDEC | invisible decrease = single crochet two stitches together front loop only (see tutorial) |
| BLO | back loop only (see tutorial) |
| (…) | total number of stitches in the round |
If you see instructions in brackets followed by an asterisk and a number, such as (3 SC, INC) * 3, it means you should repeat the sequence in brackets three times: 3 SC, INC; 3 SC, INC; 3 SC, INC.


Gauge and Measurements
A 10-stitch by 10-row swatch in single crochet should measure 3.5 × 3.5 cm (1.37 × 1.37 inches). The finished gnome measures 4.33″ (11cm) wide and 5.90″ (15cm) tall.
PDF Pattern
The PDF crochet pattern is a great solution for those who want to print the instructions and work offline, or just want to support my work. You can find the Halloween Gnome Crochet Pattern PDF in my shop.

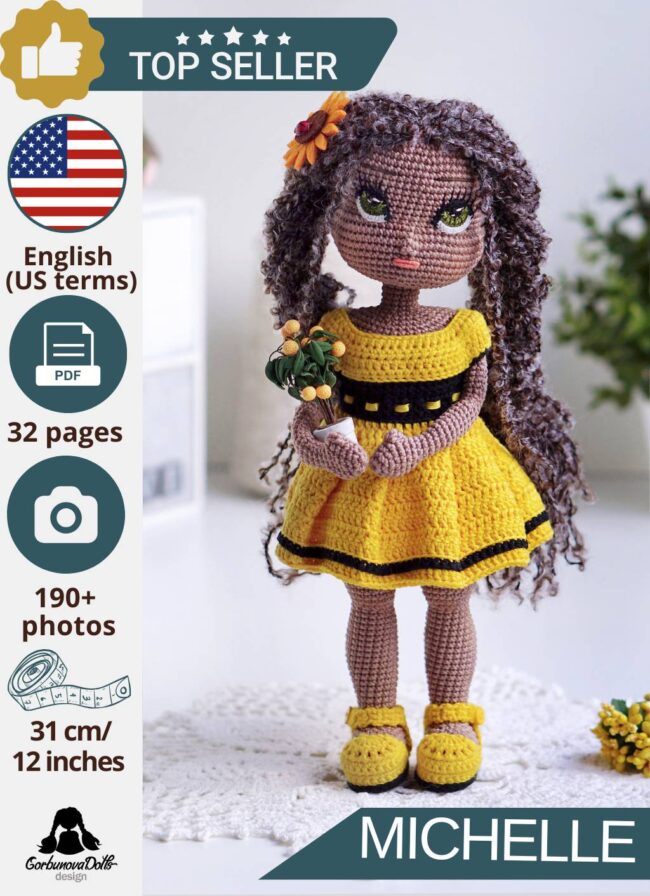
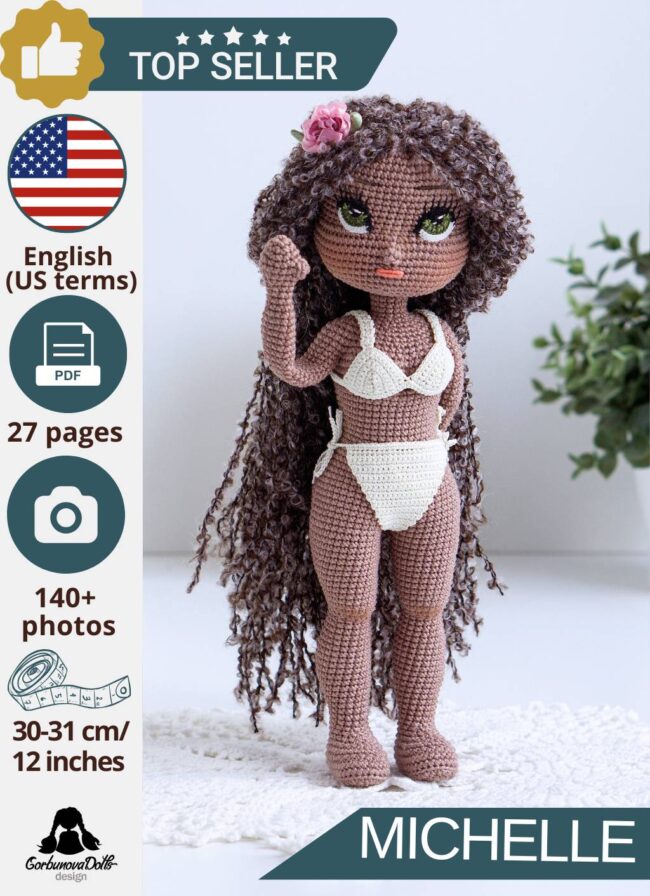
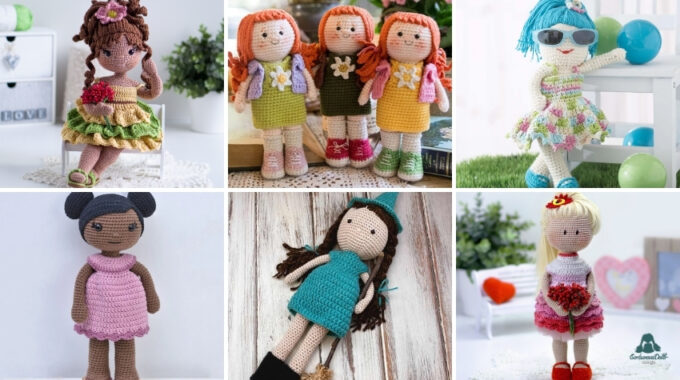
Love Halloween crocheting? Check out these patterns below.


Arms
Start with skin yarn. Work in rounds with a stitch marker. It can be a colored pin or thread of contrasting color. Pin a marker to the first stitch of the round. Every new round must be started with a stitch at the marker.
R1: Ch5, 2 SC in second ch, 2 SC, 3 SC in 1st ch, work along the other side of the chain: 3 SC (10, Photo 1)

R2: INC, 4 SC, INC, 4 SC (12)
R3: SC, INC, 5 SC, INC, 4 SC (14)
R4-R5: SC in each st (14)
R6: SC in each st, connect orange yarn at the last step of the last st (Photos 2 and 3)

R7-15: SC in each st (14)
R16: SC in each st (14), pull marker out and crochet 3 SC more to the outer side stitch (Photo 4)
R17. Closing round: work both stitches of both sides: 7 SC (1st sc is hard to crochet, you can use smaller hook for convenience, Photo 5). Fasten off and weave in the end.

Crochet the second arm in the same way. Fasten off and weave in the end. Ready (Photo 7)

Pumpkin Body
With orange yarn. Work in rounds with a stitch marker.
R1: 6 SC in magic ring (6)
R2: 6 INC (12)
R3: (SC, INC) * 6 (18)
R4: (2 SC, 4 SC in one st) * 6 (36, Photo 1)
R5: (2 SC, 4 INC) * 6 (60, Photo 2)
R6: (2 SC, INC, 6 SC, INC) * 6 (72, Photo 3)

R7-9: SC in each st (72)
R10: (2 SC, InvDEC, 7 SC, INC) * 6 (72)
R11-13: SC in each st (72, Photo 4)

R14: (2 SC, InvDEC, 7 SC, INC) * 6 (72)
R15-17: SC in each st (72)
R18: (2 SC, InvDEC, 7 SC, INC) * 6 (72)
R19-21: SC in each st (72)
R22: (2 SC, InvDEC, 7 SC, INC) * 6 (72)
R23-25: SC in each st (72)
R26: (2 SC, InvDEC, 7 SC, INC) * 6 (72)
R27-29: SC in each st (72, Photos 5 and 6)

R30: (2 SC, InvDEC, 6 SC, InvDEC) * 6 (60)
R31: (2 SC, 4 InvDEC) * 6 (36)
R32: (2 SC, InvDEC) * 9 (27, stuff the body, Photos 7 and 8)

R33. Join the 1st arm: work 7 SC hooking through both sts of the body and the arm (Photo 9), 7 SC (front), join the 2nd arm: 7 SC; 6 SC (back) (27, Photo 10)

R34: (SC, InvDEC) * 9 (18). Stuff the body.
R35: (SC, InvDEC) * 6 (12)
R36: 6 InvDEC (6). Pull marker out, cut a 6″ (15cm) yarn tail, pull the end of yarn through the last stitch and thread it into a needle. Guide the needle through each front loop of the remaining stitches (Photo 11 and 12), then pull the yarn tail, fastening off the hole (Photo 13). Check out the video on how to gather stitches.

Wrap the body around the outside to divide it into 6 equal sections, wrapping the yarn up and around. Knot securely at center and finish off (Photo 14 and 15). It would be prettier if you did this with brown yarn.

Sew the arms to the body (Photo 16)

Nose
With skin yarn. Work in rounds with a stitch marker.
R1: 6 SC in magic ring (6)
R2: 6 INC (12)
R3: (SC, INC) * 6 (18)
R4: SC in each st (18)
R5: (SC, InvDEC) * 6 (12, Photos 1 and 2). Cut a 6″ (15cm) yarn tail for sewing

Beard
With white yarn.
CH22. Starting from 2nd ch from hook: 21 HDc (21). Make two pieces. Cut a 6″ (15cm) yarn tail
CH27. Starting from 2nd ch from hook: 26 HDc (26). Make two pieces. Cut a 6″ (15cm) yarn tail
CH31. Starting from 2nd ch from hook: 30 HDc (30). Make one piece. Cut a 6″ (15cm) yarn tail

You may also like – Halloween Crochet Pattern Bundle 5 in 1.

Hat
Start with yellow yarn. Work in rounds with a stitch marker.
R1: 6 SC in magic ring (6)
R2-11: SC in each st (6)
R12: (INC, SC) * 3 (9)
R13-14: SC in each st (9)
R15: (INC, 2 SC) * 3 (12)
R16-17: SC in each st (12)
R18: (INC, 2 SC) * 4 (16)
R19-20: SC in each st (16)
R21: (INC, 3 SC) * 4 (20)
R22-23: SC in each st (20)
R24: (INC, 4 SC) * 4 (24)
R25-26: SC in each st (24)
R27: (INC, 3 SC) * 6 (30)
R28-30: SC in each st (30)
R31: (INC, 4 SC) * 6 (36)
R32-34: SC in each st (36)
R35: (INC, 5 SC) * 6 (42)
R36-37: SC in each st (42)
R38: (INC, 6 SC) * 6 (48)
R39-40: SC in each st (48)
R41: (INC, 7 SC) * 6 (54)
R42: SC in each st (54, Photo 1), connect brown yarn at the last step of the last sc
R43: 4 SC, INC, (8 SC, INC) * 5, 4 SC (60)
R44: (5 SC, INC) * 10 (70)
R45-48: SC in each st (70, Photo 2). Fasten off and weave in the end.

Leaves
With green yarn.
R1. Ch8, SL ST in 2nd ch, SC, HDc, DC, HDc, SC, 3 SC in one ch, along the other side of the chain: SC, HDc, DC, HDc, SC, SL ST (Photo 1)

R2: CH3, SL ST in 2nd ch, SC (Photo 2), work BLO along the leaf: 2 SC, HDc, 2 DC in one st, DC, HDc, SC, 3 SC in one st, SC, HDc, DC, 2 DC in one st, 2 HDc, 2 SC, SL ST, SL ST in last st as shown in Photo 3. Crochet the 2nd leaf in the same way and weave in the end (Photo 4)

Flower
With red yarn.
In magic ring crochet: * Ch3 (Photo 1), DC, Ch3, SC (Photo 2). Repeat from * 4 times (Photo 3), pull the yarn tail to close the magic ring (Photo 4), cut the yarn leaving a tail approx 6″ (15cm) long for sewing.


Assembly
Fasten beard with pins as shown in Photo 1. The longest one is in the center, the shortest are on sides. Sew.

Sew the nose as shown in Photo 3. Before finishing add some stuffing (Photo 2).

Sew leaves and flower to hat as shown in Photo 4. You can decorate the flower with a button.

Sew the tip of the hat to the middle part of the hat as shown in Photos 5, 6, 7 and 8.


Fasten the hat to body with pins and sew (Photo 9)

If you wrapped the body with orange yarn, you can paint with brown eye shadow as shown in Photo 10.

Congratulations! Your Halloween gnome is ready! I hope you had fun making it. Don’t forget to share your final result on Instagram using #GorbunovaDolls hashtag. If you enjoyed this Free Halloween Gnome Crochet Pattern, subscribe for more!

Copyright
©Gorbunovadolls. All rights reserved. This Halloween gnome crochet pattern may not be published, resold, reproduced, shared, translated, or altered without prior permission in writing from the author. For more details, please visit the Copyright and Intellectual Property Rights.
Selling Finished Items
The design and pattern are copyrighted and may not be reproduced or redistributed for resale! You may sell finished items made from this pattern. You are welcome to make as many items as you like for personal use or charity. However, commercial reproduction of the pattern itself is strictly prohibited.


Thank you for generously sharing this cute free pattern
So cute..made mine with rose colored hat.
I’d be very grateful if you’d send me a photo to amigurumigorbunova@gmail.com
Thank you for sharing. Hé is lovely!❤️