
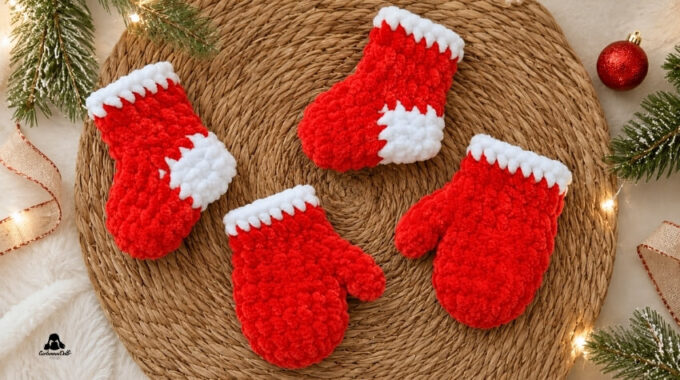
Crochet Christmas Stocking and Mitten – Free Pattern
Learn how to crochet a small Christmas stocking and mitten with this free crochet pattern. These cute red and white plush crochet pieces are perfect for Christmas decor, garlands, gift wrapping, ornaments, holiday appliqués, or festive handmade displays.
Before we begin, thank you for visiting GorbunovaDolls – a place where I share detailed amigurumi patterns, crochet doll designs, and selected free tutorials from talented designers, translated with permission.

Pin this crochet Christmas stocking and mitten pattern to your crochet board so you can easily find it when you’re ready to make festive handmade decorations.
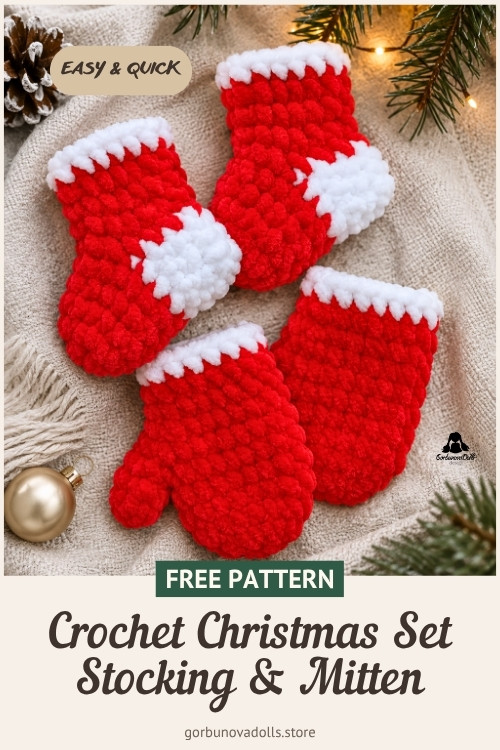
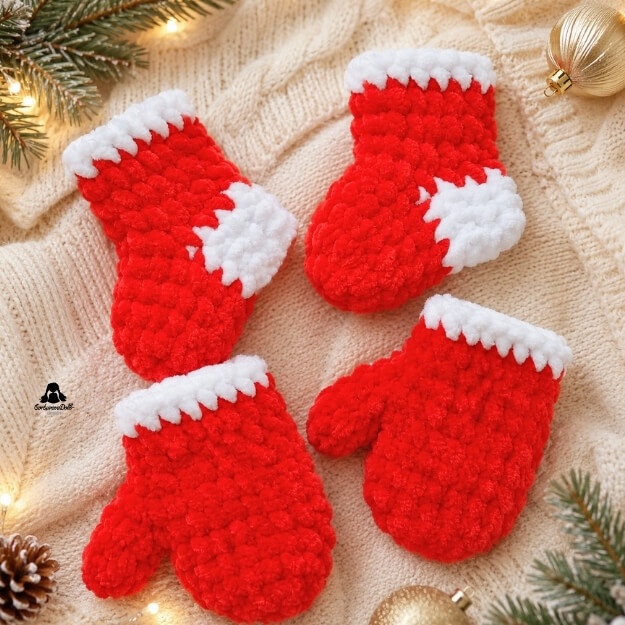
This free crochet Christmas pattern includes written instructions for a small crochet stocking and a matching crochet mitten. Both pieces are made with plush yarn in classic red and white Christmas colors.
Please note that there are no step-by-step process photos for this pattern. I translated and organized the written instructions clearly so you can follow the shaping, color changes, heel construction, and mitten thumb placement more easily.
Table of Contents
Hide ContentsShow Contents
Designer Credit
This free crochet Christmas stocking and mitten pattern was originally designed by @julia_knitting11 and is shared here with the designer’s kind permission.
I translated and prepared the instructions in English so more crocheters can enjoy this festive crochet pattern. Please do not sell, copy, repost, translate, or redistribute this pattern without permission from the original designer.
If you enjoy this free English translation, you can support my work with a small Ko-fi donation. Thank you!
Pattern Details
- Skill Level: Intermediate
- Finished Size: Will vary depending on your yarn, hook size, and tension
- Crochet Terms: US terms
- Construction: The stocking is crocheted from the toe upward in red yarn; the white heel is added in turned rows, folded in half, and sewn closed; then you return to the red yarn and continue crocheting in rounds across the heel stitches and the remaining stocking stitches. The mitten thumb is crocheted separately first, then joined to the mitten body as you continue crocheting from the fingertips toward the cuff.
- Best For: Christmas decor, garlands, ornaments, gift wrapping, holiday appliqués, festive displays, and plush crochet decorations
- Original Designer: @julia_knitting11
- English Translation: GorbunovaDolls
Materials You’ll Need
This section may contain affiliate links, including Amazon affiliate links. If you purchase through these links, I may earn a small commission at no extra cost to you. Thank you for supporting my work on free crochet tutorials and English pattern translations.
The original sample was made with YarnArt Dolce, a plush chenille-style yarn that creates soft and chunky Christmas decorations.
If you want to use a different yarn, choose a plush yarn with a similar thickness and texture. Keep in mind that using a different yarn weight or hook size will change the finished size of your stocking and mitten.
The Yarn Substitution Tool is a helpful resource for finding yarns with a similar weight, fiber content, and texture.
Yarn colors used in the original sample:
- YarnArt Dolce red – for the main stocking and mitten
- YarnArt Dolce white – for the stocking heel and top edge, and for the mitten cuff
You will also need:
- 4 mm crochet hook
- yarn needle for sewing and weaving in ends
- scissors
- stitch marker
Gauge and Size Notes
Gauge is not critical for this crochet Christmas pattern. The most important thing is to use a hook size that works well with your plush yarn and gives you a neat fabric.
Because this pattern uses plush yarn and a 4 mm hook, the finished pieces are soft and decorative. You can use them as small ornaments, garland pieces, gift toppers, or holiday appliqués.
Crochet Abbreviations Used in This Pattern
This pattern is written in standard US crochet terms. You can also check my Crochet Abbreviations guide if you need help with any of the stitches.
| Abbreviation | Meaning |
|---|---|
| MR | magic ring |
| ch | chain |
| sc | single crochet |
| inc | increase (2 sc in one stitch) |
| dec | decrease |
| st/sts | stitch/stitches |
| […] x | repeat the instructions in brackets x times |
| (…) | total number of stitches in the round or row |
Pattern Notes
- The stocking and mitten are made with plush yarn.
- Use a stitch marker to mark the first stitch of each round.
- The stocking begins with red yarn at the toe.
- The white heel is worked in turned rows, then folded and sewn closed.
- After the heel is sewn closed, return to the red yarn and continue crocheting in rounds across the white heel stitches and the remaining red stocking stitches.
- The mitten thumb is crocheted separately first and set aside.
- The mitten body starts at the fingertips. The thumb is joined to the mitten body while working Round 6, then the mitten continues upward toward the cuff.
- There are no step-by-step process photos for this pattern.
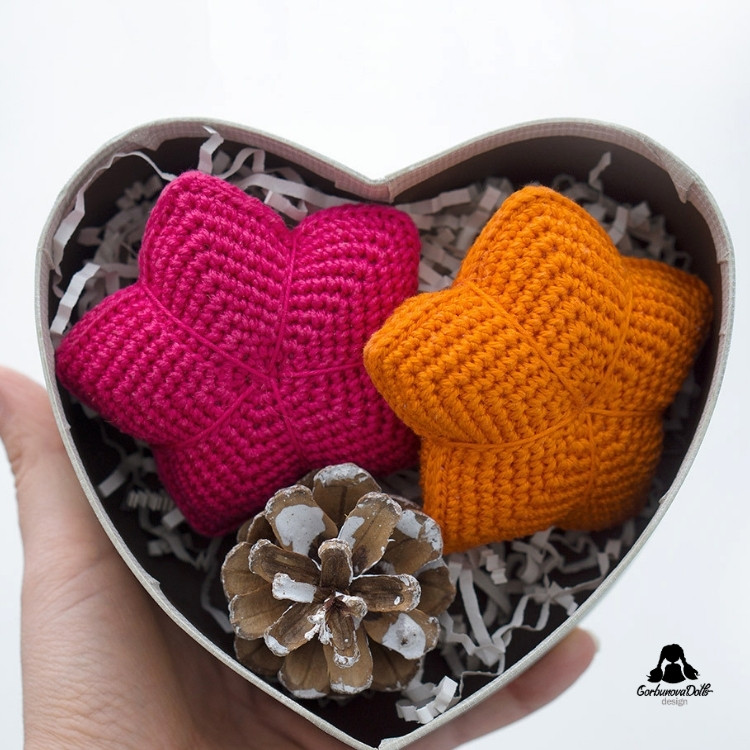
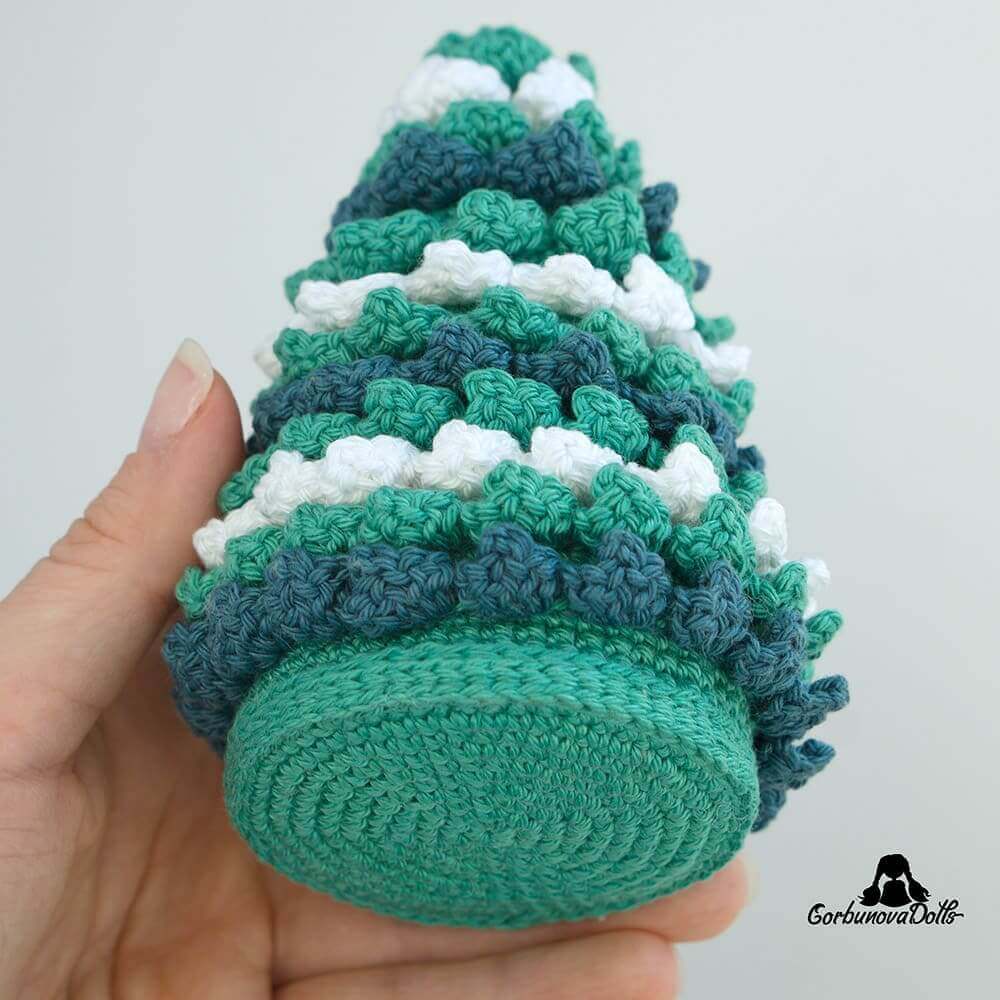
You may also like these free Christmas crochet patterns:
Love detailed amigurumi patterns?
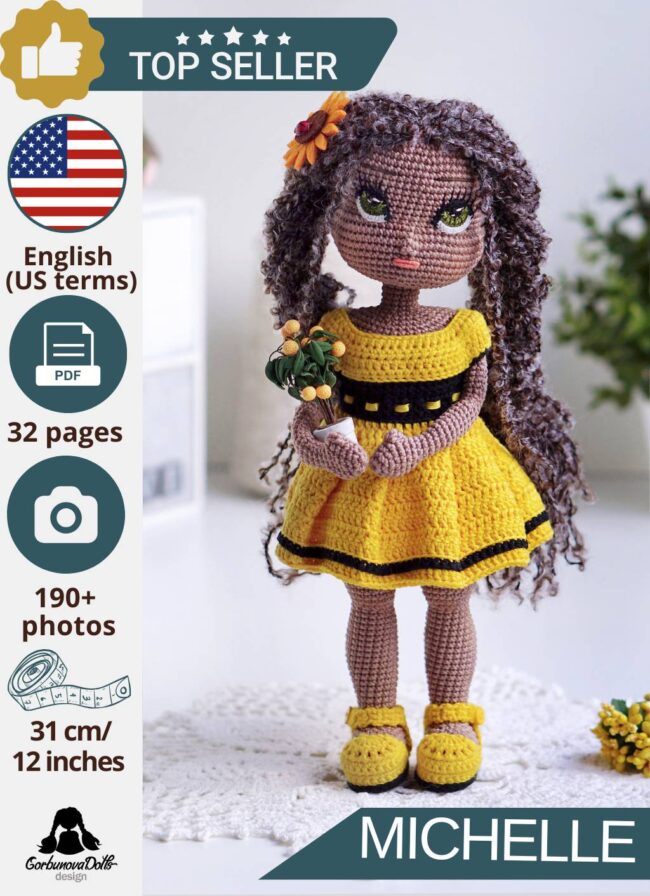
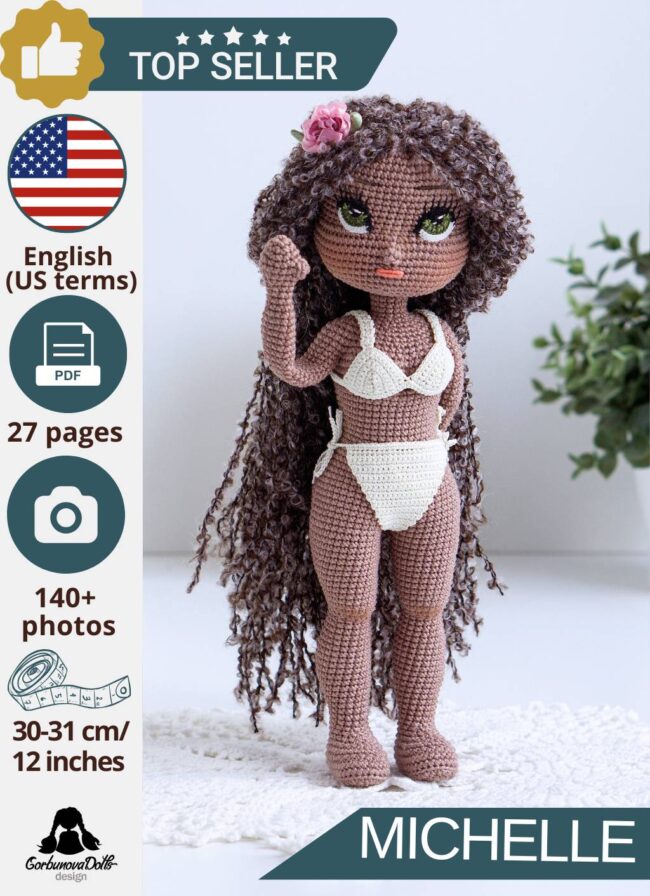
If you enjoy cute crochet projects like this one, you may also love my premium amigurumi doll patterns. Each PDF pattern is carefully designed with clear step-by-step instructions, helpful photos, and a polished finished result in mind.





Pattern Instructions
Christmas Stocking
Start with red yarn. Work in continuous rounds unless otherwise noted.
R1: 7 sc in MR (7)
R2: inc in each st around (14)
R3-5: sc in each st around (14, 3 rounds)
Do not cut the red yarn. Leave it on hold while you make the heel with white yarn.
Heel
Join white yarn to work the heel. The heel is worked in turned rows.
Row 1: 8 sc, ch 1, turn
Rows 2-4: 8 sc, ch 1, turn (3 rows)
Cut the white yarn, leaving a long tail for sewing. Fold the heel in half and sew the heel seam closed. Fasten off and hide the yarn tail.
Continue the Stocking
Return to the red yarn and continue crocheting in rounds across the white heel stitches and the remaining red stocking stitches.
R6: 8 sc across the heel, 6 sc around the stocking (14)
R7-9: sc in each st around (14, 3 rounds)
Work 4 sc more, or as many stitches as needed, to move the working yarn to the center of the heel.
Change to white yarn.
R10: sc in each st around (14)
Fasten off, secure the yarn, and hide the yarn tail.
Make another stocking if you want a matching pair.
Christmas Mitten
Start with red yarn.
Thumb
Make the thumb first.
R1: 6 sc in MR (6)
R2-3: sc in each st around (6, 2 rounds)
Fasten off and secure the yarn.
Mitten Body
The mitten body starts at the fingertips. The thumb is joined while working Round 6, and then you continue crocheting toward the cuff.
R1: 7 sc in MR (7)
R2: inc in each st around (14)
R3: [6 sc, inc] x 2 (16)
R4-5: sc in each st around (16, 2 rounds)
R6: 8 sc, 6 sc around the thumb, 8 sc (22)
The thumb is joined to the mitten body in this round.
R7: 8 sc, dec x 3 across the thumb stitches, 8 sc (19)
R8: 7 sc, dec, 1 sc, dec, 7 sc (17)
R9: 8 sc, dec, 7 sc (16)
R10: sc in each st around (16)
Change to white yarn.
R11: sc in each st around (16)
Fasten off, secure the yarn, and hide the yarn tail.
Make the second mitten in the same way.
Your Crochet Christmas Stocking and Mitten Are Finished!
Congratulations – your crochet Christmas stocking and mitten are ready! These festive plush crochet pieces can be used as ornaments, garland decorations, gift toppers, holiday appliqués, or cute handmade Christmas decor.
If you have any questions while following this tutorial, feel free to contact me and I’ll do my best to help.
I hope you enjoyed this free English translation of the crochet Christmas stocking and mitten pattern. If you make your own holiday decorations, I’d love to see them! You can tag me on Instagram @gorbunova.dolls or share your photo in my Facebook group, Ami & Hook Society. Please credit the original designer, @julia_knitting11, when sharing finished items made from this pattern.
Want to crochet something more detailed?
Explore my premium amigurumi doll patterns – beautifully structured PDF patterns with clear instructions, helpful step-by-step photos, and charming finished dolls you’ll be proud to make.
Pattern Credit & Permissions
This pattern was originally designed by @julia_knitting11 and is shared here as an English translation with the designer’s permission. Please do not copy, repost, translate, or redistribute this pattern without permission from the original designer.
Comments (0)