How to Close a Hole in Amigurumi
In this crochet tutorial, I am going to teach you how to close a hole in Amigurumi. This technique is one that I personally love using for all of my amigurumi projects because it results in a very neat closing circle.
Closing the hole in Amigurumi is an important step in giving your creation a polished and finished look. Whether you are making a cute little animal or a soft toy for a child, having a closed and tidy hole adds to the overall aesthetic appeal.
To begin, you will need your crocheted piece with an open hole. This could be the top of a ball or the opening in the head of your toy. With a needle and simple stitches, we will work on closing this hole in a way that is secure yet visually pleasing.
if you prefer, simply scroll down to watch our step-by-step video tutorial.
Please kindly Pin my image before we start as it really helps. Thank you in advance!
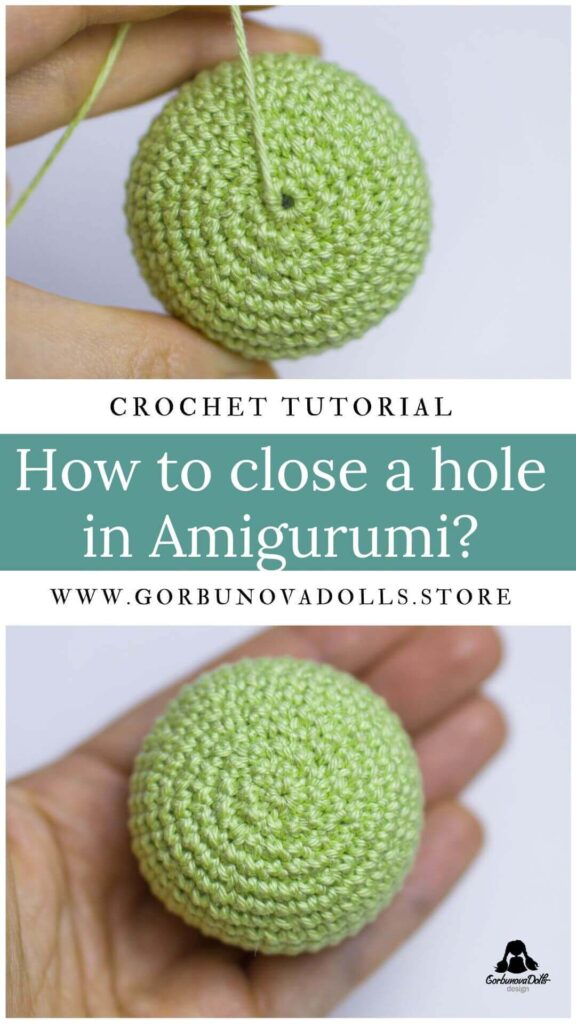


How to close a hole in Amigurumi
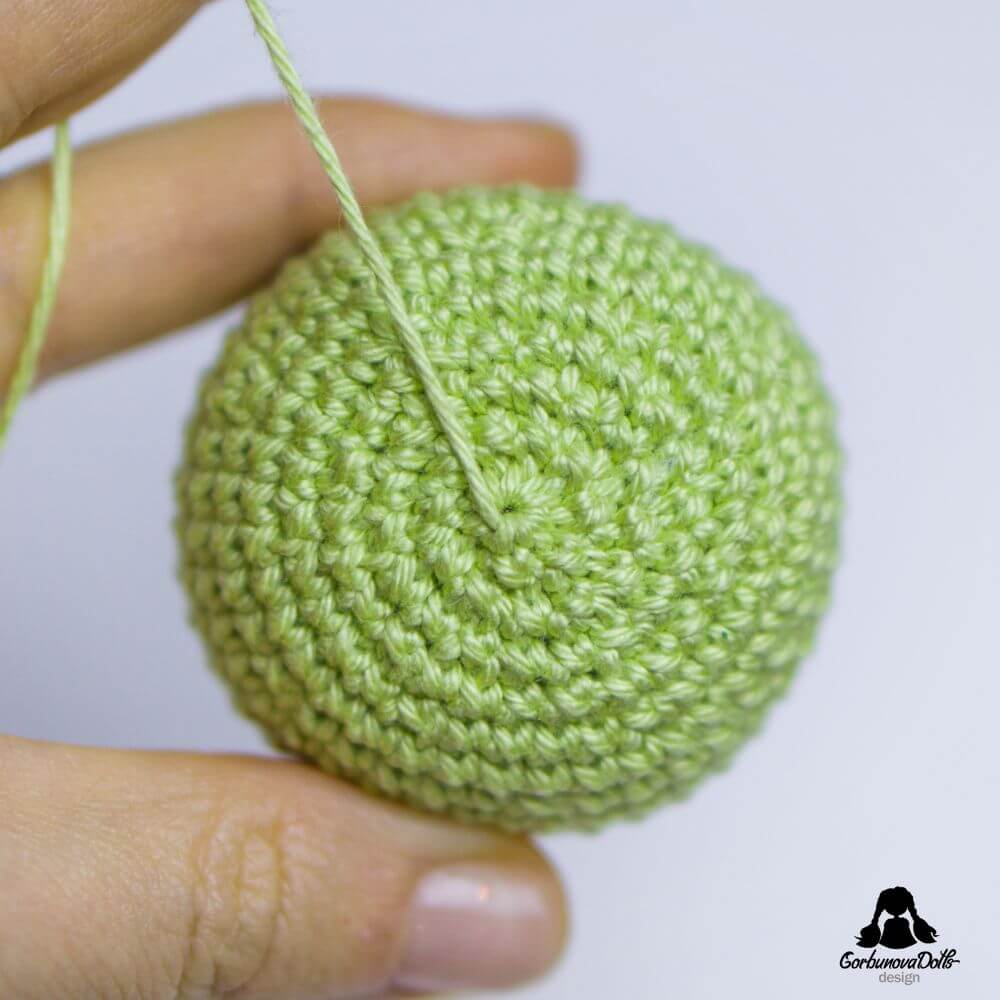
Pull out the stitch marker, leaving about 10 stitches remaining (see photo 1). Then cut a 6-inch (15 cm) yarn tail. Before closing the hole, make sure your amigurumi is firmly stuffed.
Enlarge the loop on your hook to prevent it from unraveling, then remove the hook. Pull the yarn end completely through the last stitch (see photo 2), and thread it onto a needle.
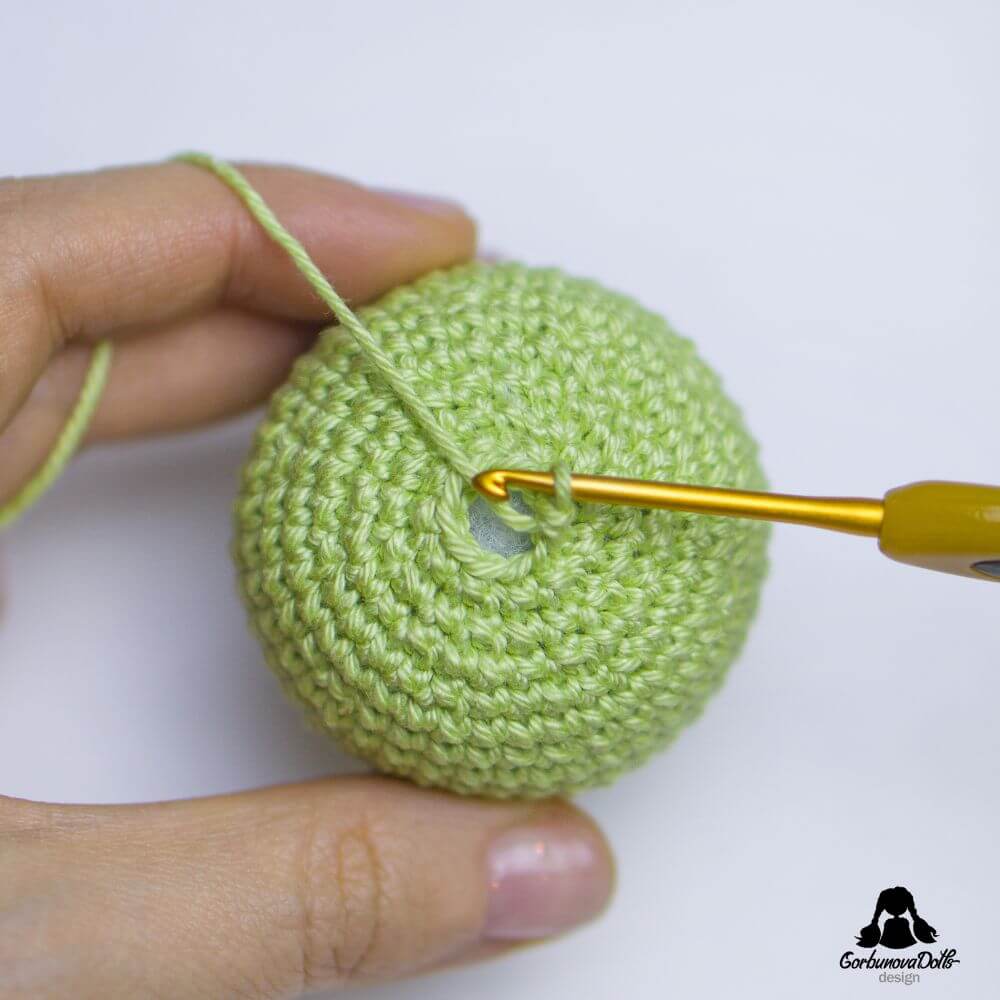
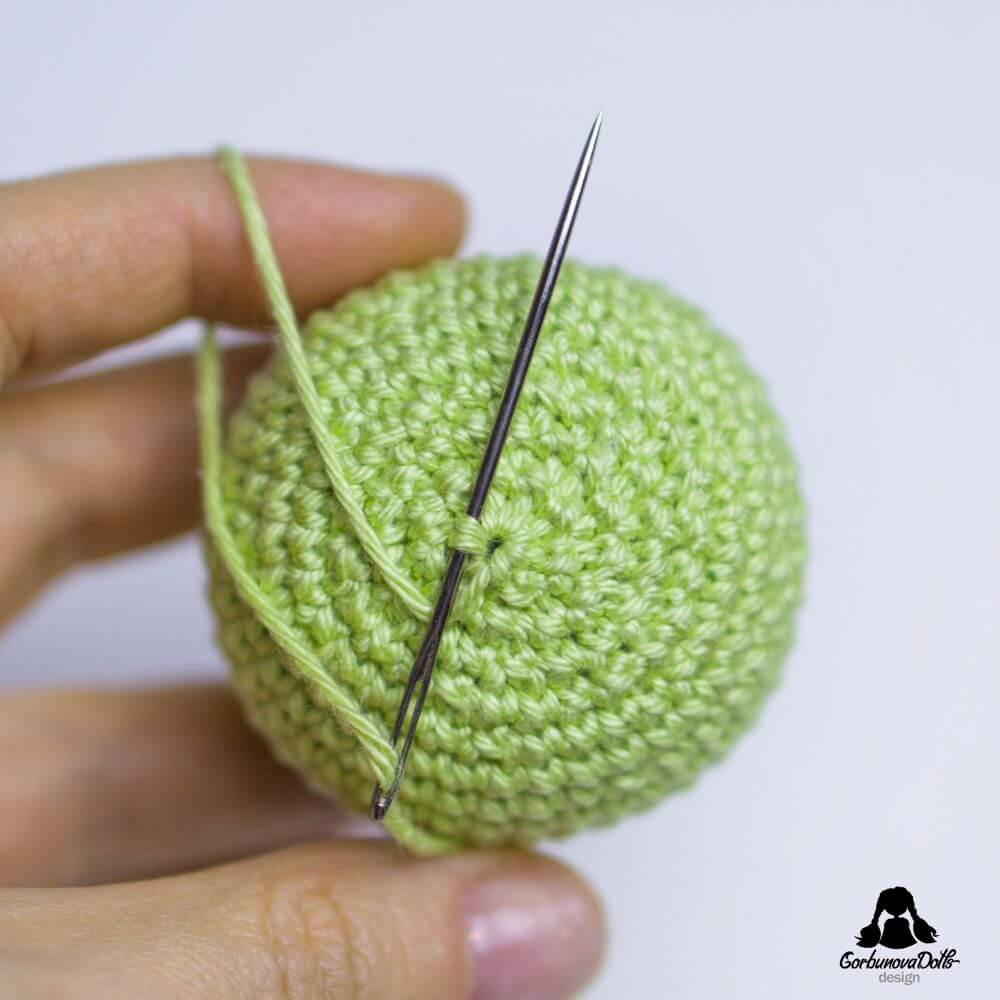
Next, insert the needle under the front loop of the next stitch (see photo 3).
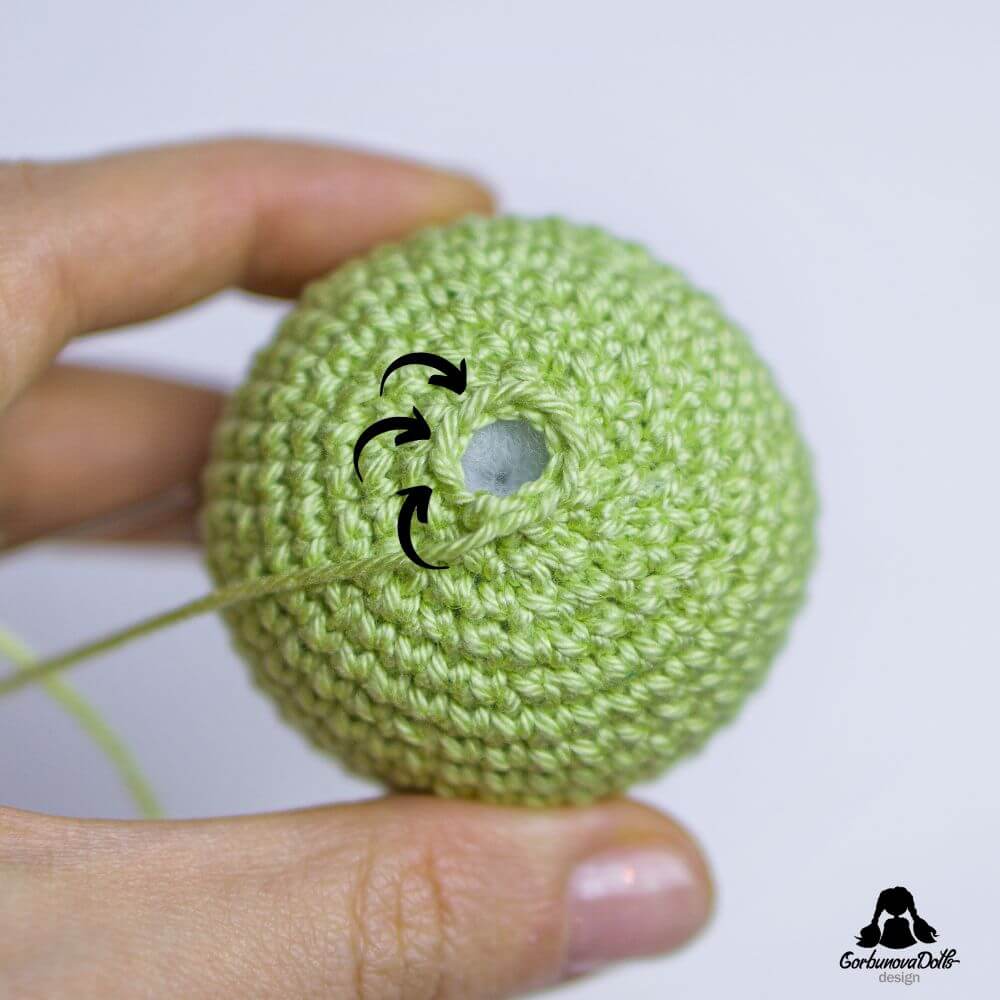
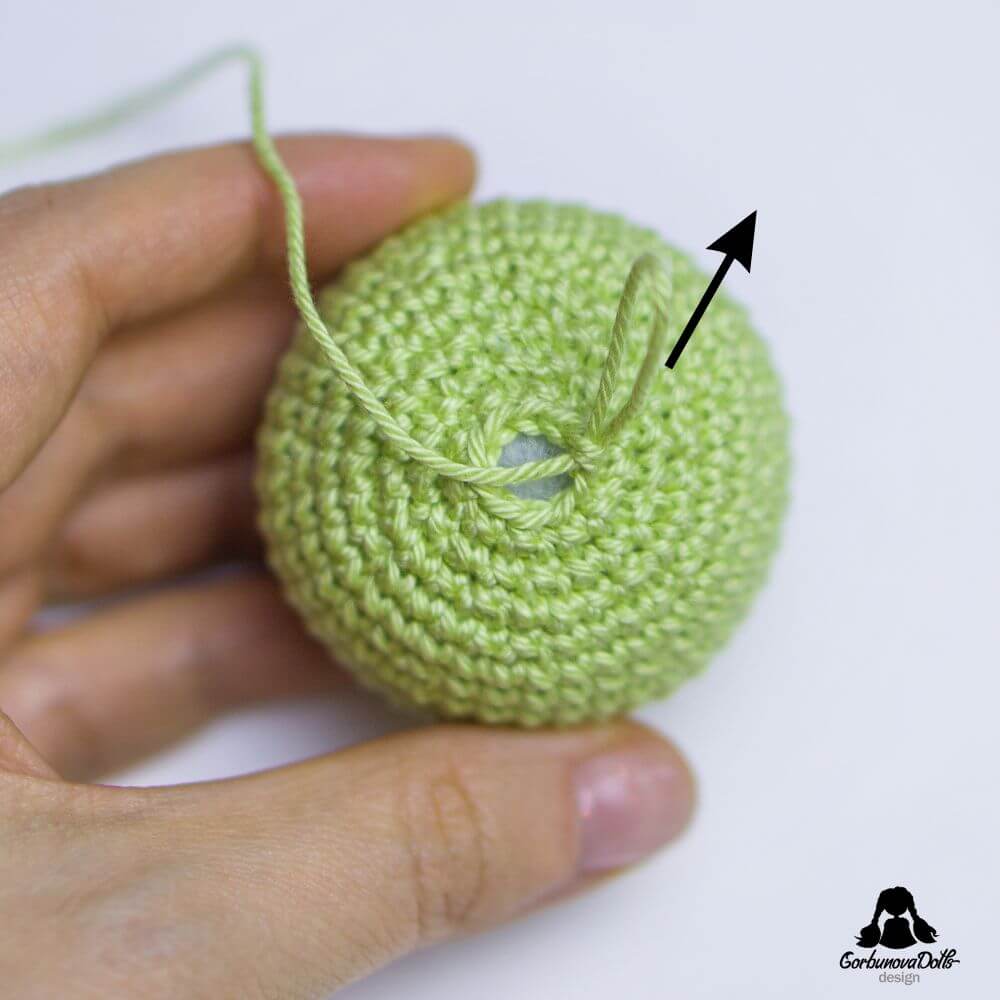
Bring the needle out through the center of the stitch (see photo 4). Gently pull and lightly tug on the yarn tail.
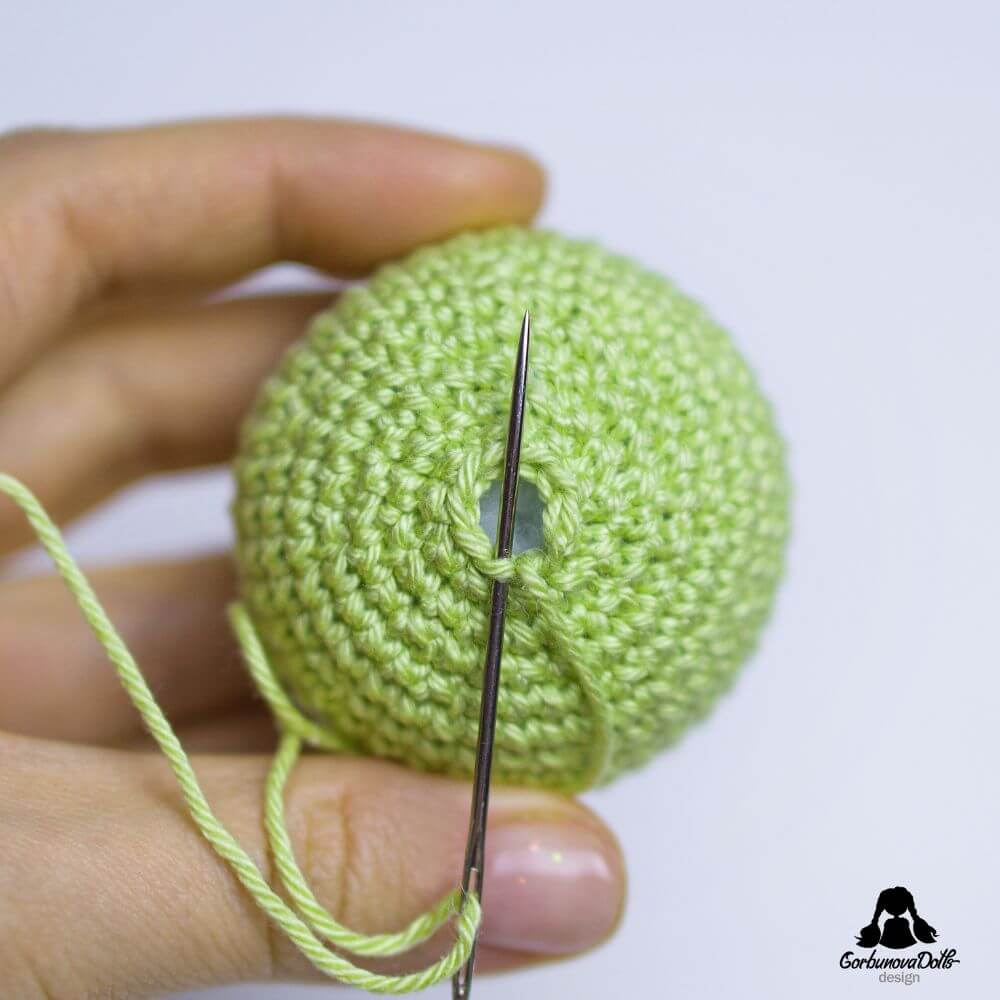
Continue this process around the opening, making sure to insert the needle only under the front loop of each remaining stitch (see photo 5).
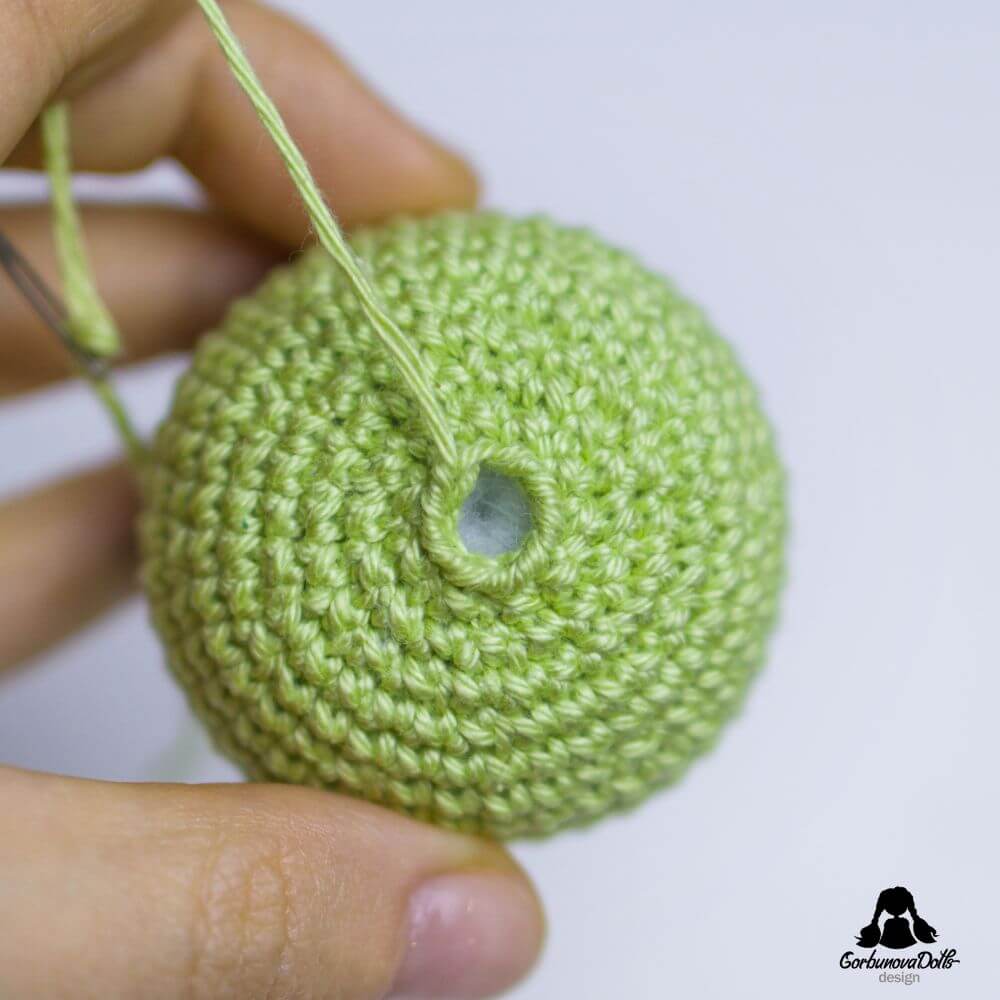
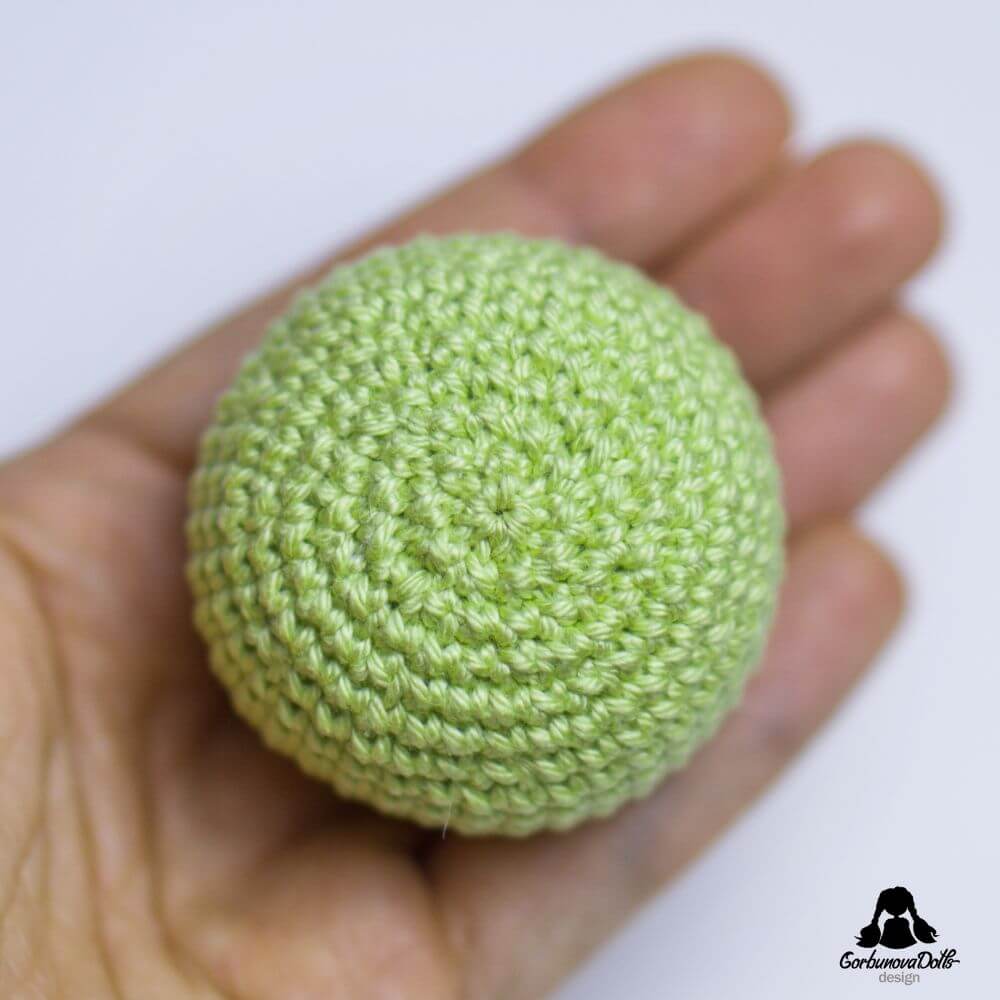
Once you’ve gone through all the stitches, pull the yarn end tightly to close the hole securely (see photos 6 and 7).
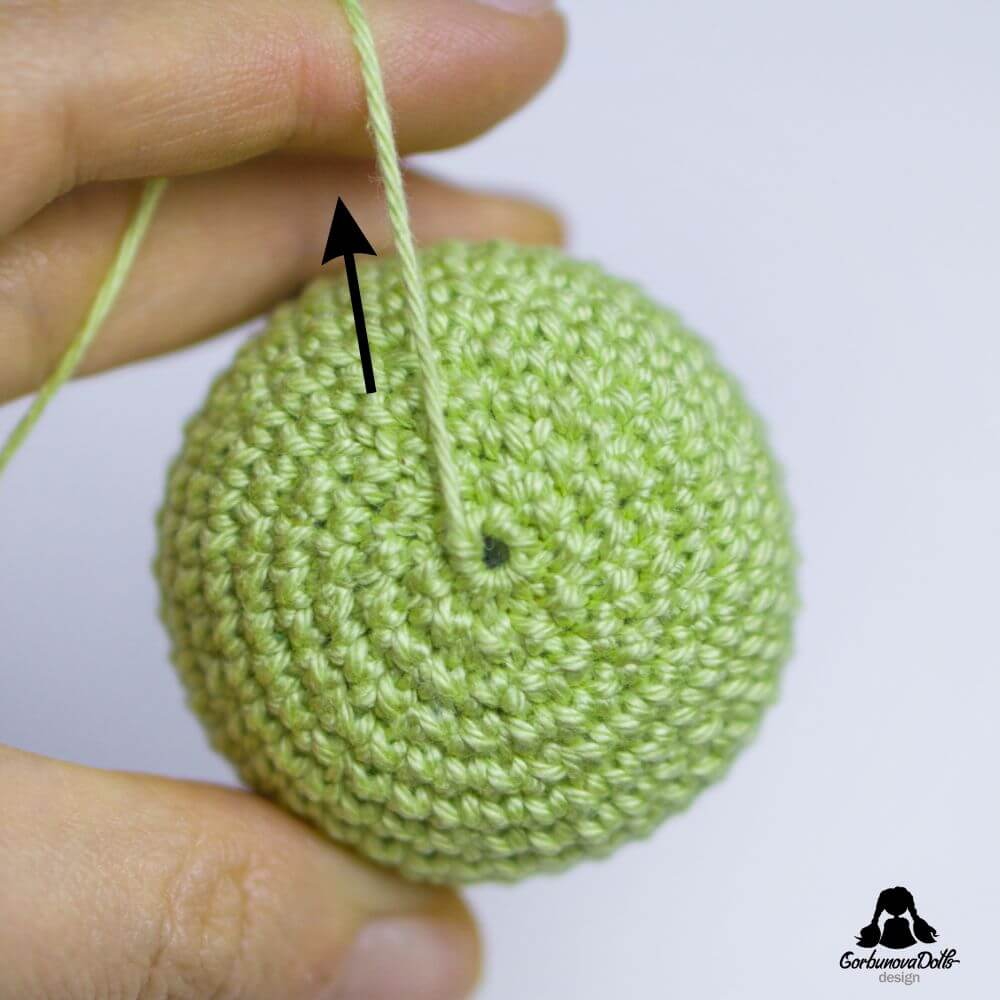
To weave in the yarn tail, run the needle through the top of your project a couple of times (see photo 8). This will help securely hide the tail inside your amigurumi.
Finally, trim any excess yarn tail that remains after weaving.
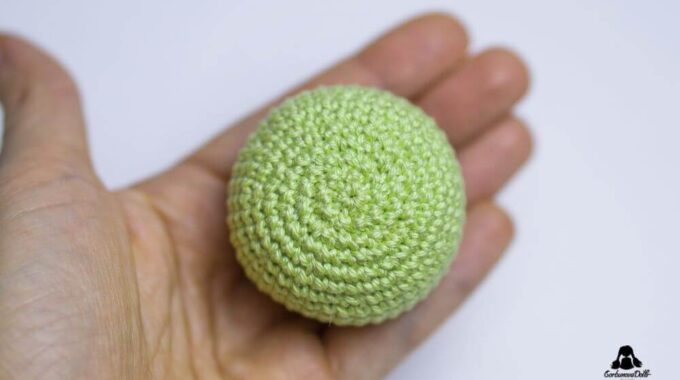
Congratulations! You’ve successfully closed the amigurumi hole. Your project now looks complete and seamless (see photo 9).
I hope you found this tutorial helpful. If you have any further questions or need additional guidance, please feel free to contact me!
Remember, practice makes perfect, so don’t be afraid to experiment and keep improving your amigurumi skills. Happy crocheting!


Comments (0)