
How to invisible color change in Amigurumi
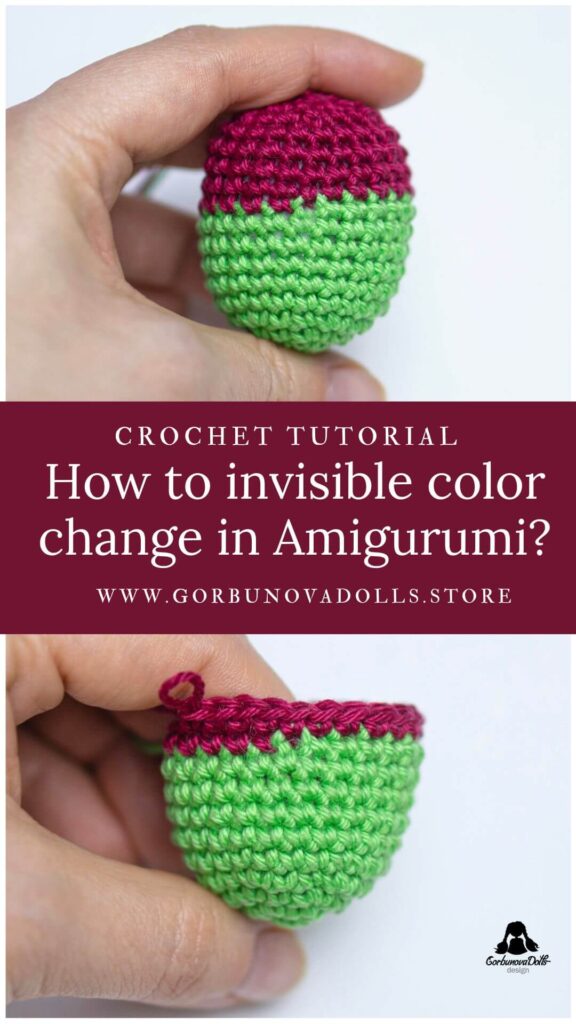
How to invisible color change in Amigurumi? In the world of amigurumi, learning how to change yarn colors in crochet is a useful skill to pick up early. It opens up more pattern options and adds bright, beautiful colors to your creations. Today, we’ll take a look at an easy way to change colors using single crochet and slip stitch.
If you prefer, you can also simply scroll down and watch our step-by-step video tutorial.
Please kindly Pin my image before we start as it really helps. Thank you in advance!
Love crochet tutorials? Check out these ones – How to close a hole in Amigurumi?, How to do the X-shaped Single Crochet Stitch.
How to invisible color change in Amigurumi?
Finish your round with a new color by changing to another color during the final step of the last stitch in the previous color. Here’s how: complete the last stitch in the previous color until only the last two loops remain on the hook. Then, using the new color, wrap the yarn around the hook (see photo 1) and pull it through the two remaining loops of the previous color on your hook (see photo 2). The next stitch you make will be the first stitch in the new color. Secure your yarn.
Most crocheters stop here, but this method leaves a noticeable “step” where the yarn change happens. I suggest you try going a step further to smooth out the transition and make it look cleaner.
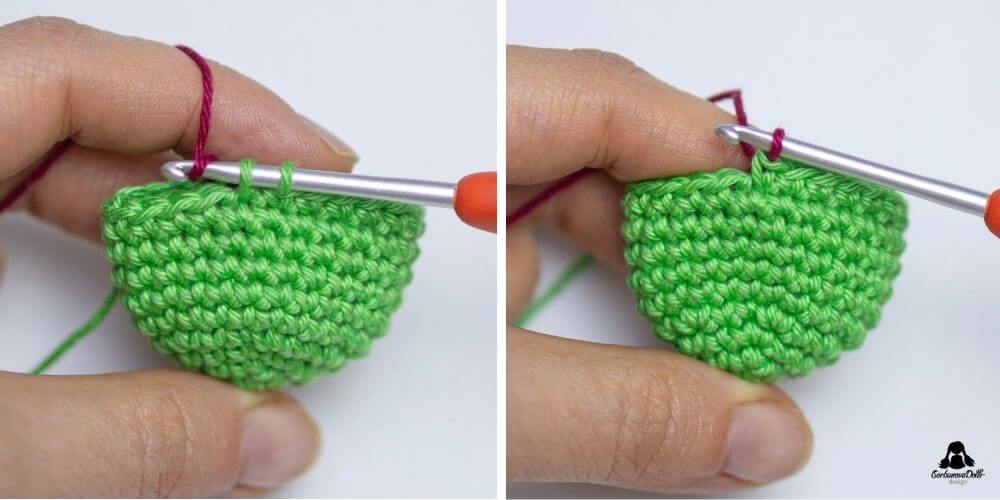
Begin a new round with a slip stitch into the back loop only. To do this, insert your hook into the back loop of the first stitch (see photo 3) and pull up a loop with the new color. Then, pull this loop through the loop on your hook to complete the slip stitch (see photo 4).
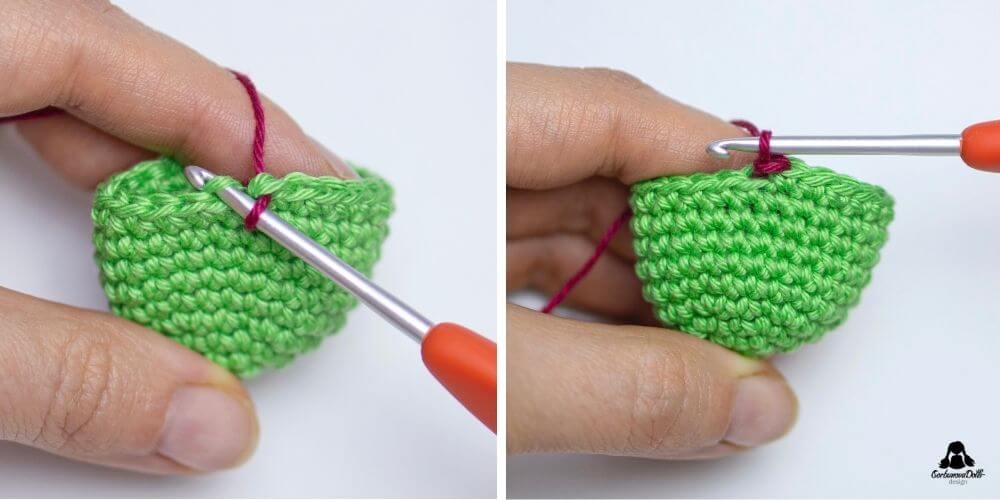
Continue as normal in the new color until you reach the first stitch (see photo 5). Now you will work your last stitch through the front loop of the previous color and the front loop of the new color (see photo 6).
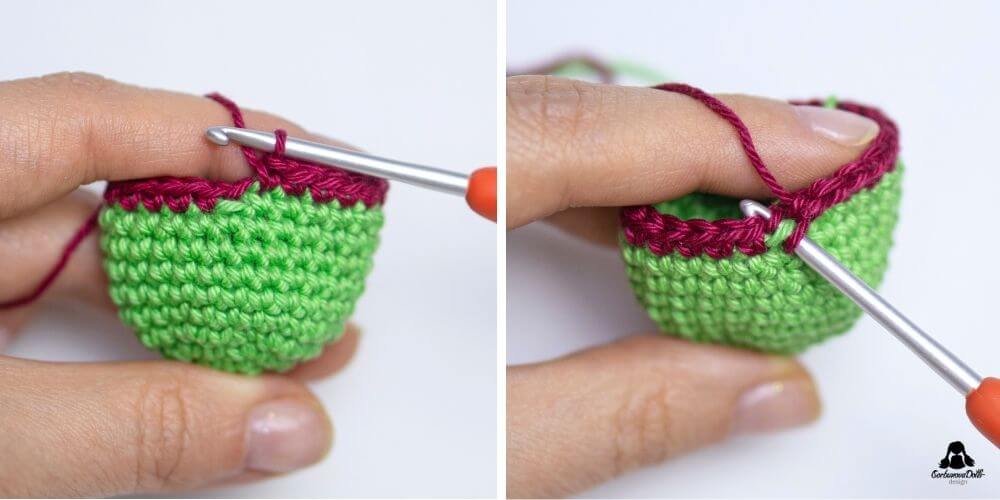
Afterward, you can proceed with your crochet work as usual, and you’ll find that it’s extremely difficult to spot where the color transitions take place.
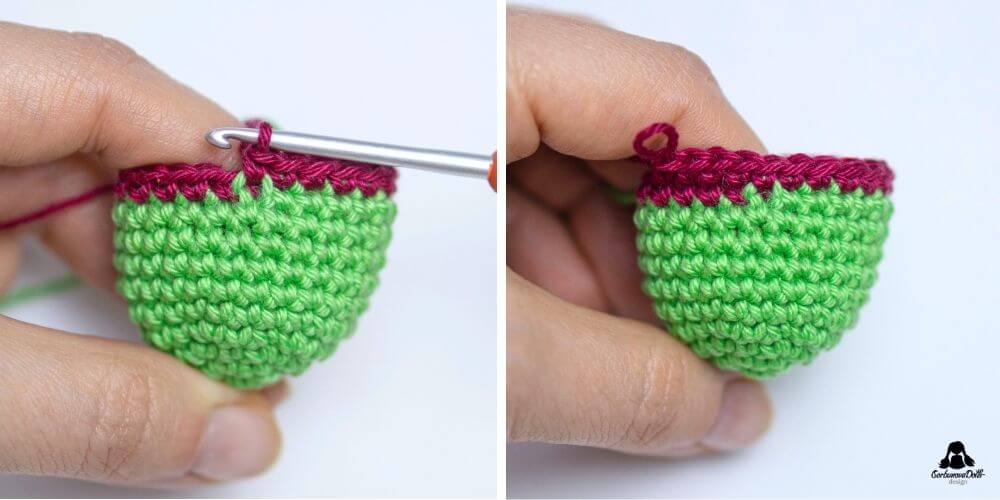
And there you have it! You’ve now mastered the art of making an invisible color change in amigurumi. This technique helps create smooth transitions between colors, making your creations look more polished and professional.
Happy crocheting, and don’t forget to enjoy the process of bringing your adorable creations to life!



Thank you for sharing how to join new crochet colors. Finally something that works and makes sense.