How to Crochet in the Back bar of the chain?
There’s one crochet trick I learned a few years ago, and now I use it all the time – it’s working into the back bar of the chain. The back bar is also known as the back bump, and it’s the loop on the back side of the chain.
It’s an easy technique, but many people don’t use it or even know about it. I really think every crocheter should try it! The first thing to understand is that a chain has a front and a back – and knowing that makes a big difference.
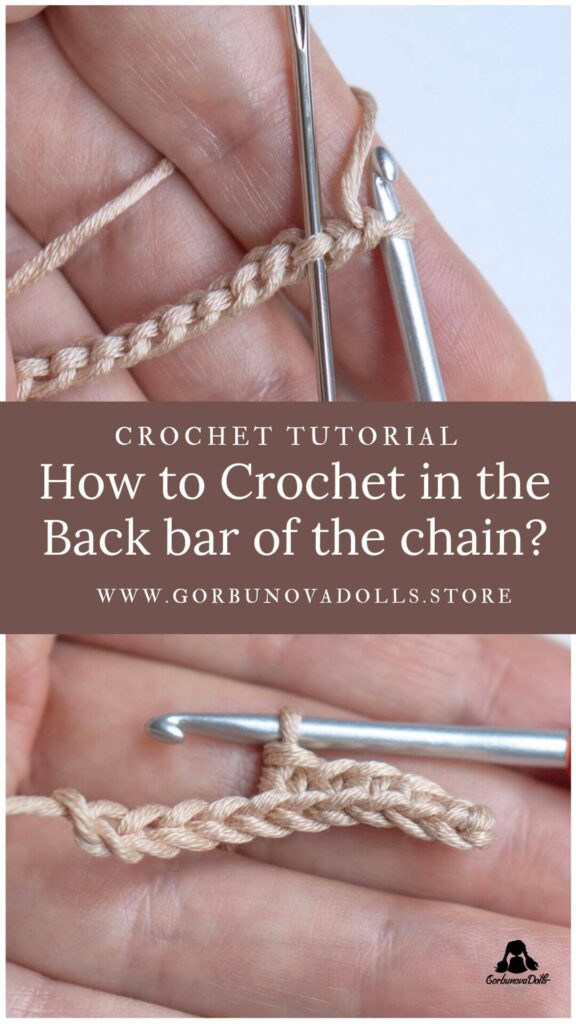
Please kindly Pin my image before we start as it really helps. Thank you in advance!
Love crochet tutorials? Take a look at these tutorials here!


How to Crochet into the Back Bar of the Chain
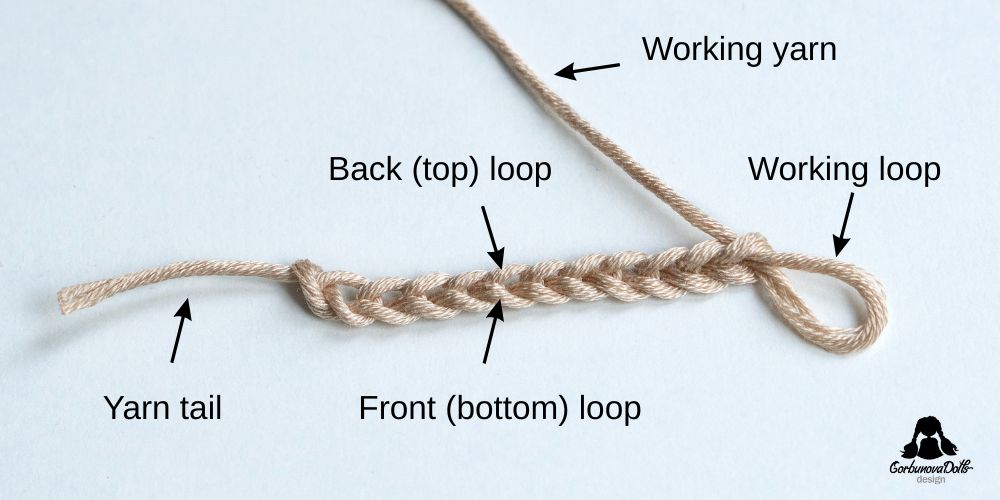
The photo below shows the anatomy of a chain from above. Each stitch looks like a small ‘V’ and is made up of a back (top) loop and a front (bottom) loop. In the traditional method, you’re instructed to work all your stitches into the back (top) loops of the foundation chain, leaving the front (bottom) loops and back bars unused.
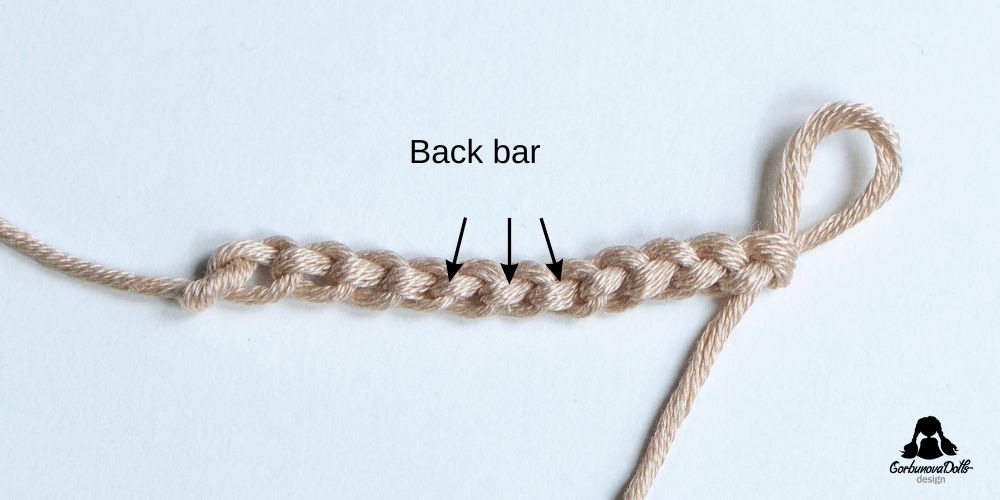
Now turn the chain upside down to look at the back of the foundation chain. You’ll see the back bars (or bumps) there – this is how you should hold your chain when working into the back bars only.
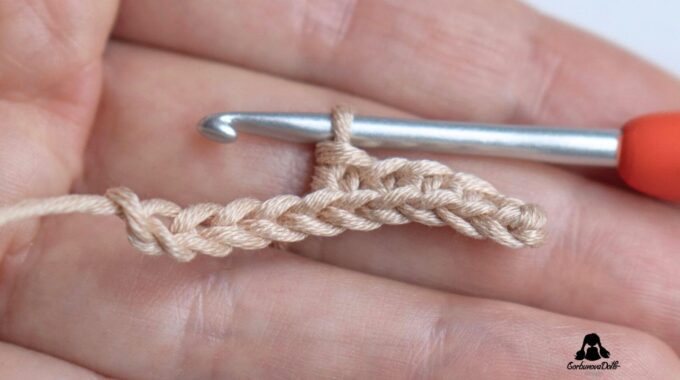
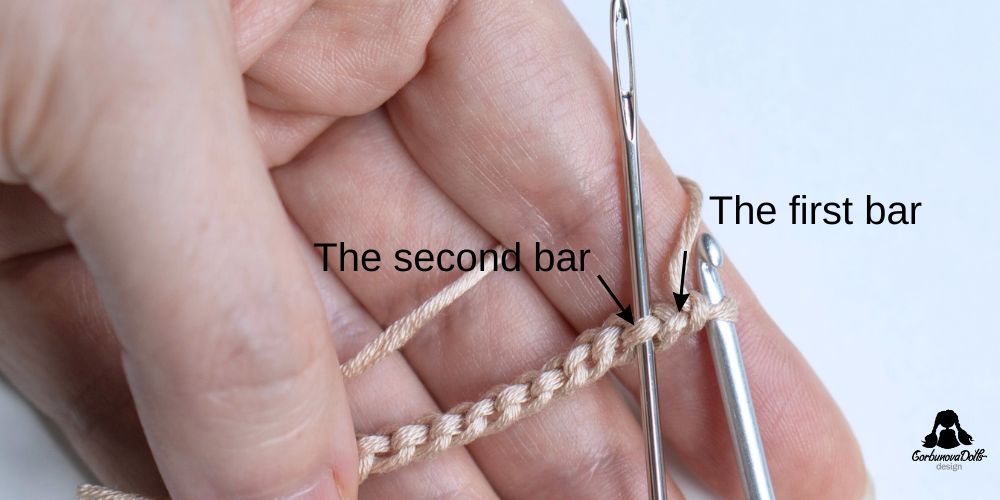
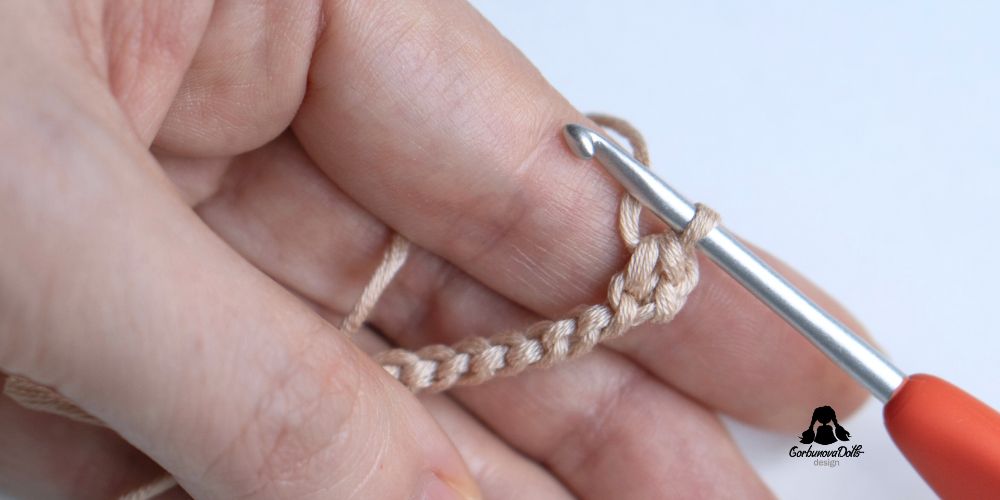
To begin crocheting into the back bars, insert your hook into the back bar of the second chain from the hook if you’re using single crochet stitch.
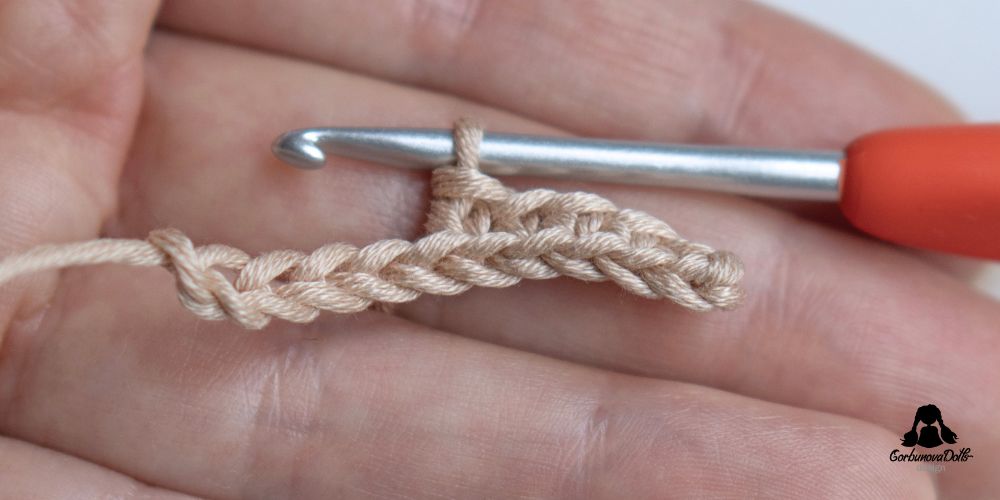
Then, complete the stitch as usual. A single crochet is shown in the photo below.
Notice how the bottom edge of your work now has a neat finish that matches the top edge. This is the result of working into the back bars of the chain.
You can use this technique in many situations, but it’s especially helpful for amigurumi or whenever you want a neat edge that’s easier to join, by working into the back bars of the foundation chain instead of the back (top) loops.


Comments (0)